La Der des Ders – The War to End War from Hexasim – Action Point 6
La Der des Ders – The War to End War from Hexasim is a 1-2 player slightly abstracted strategic level look at World War I. The game allows the players to relive the First World War at a strategic level, with each player controlling one of the 2 sides either the Entente, consisting of France, England, Russia, Serbia and other minor nations or the Central Powers including Germany, Austria-Hungary, the Ottoman Empire and a few minors. La Der des Ders can also be played solo, with a dedicated solitaire bot called “Athena” who utilizes special Cornflower Cards to make decisions about what technologies to invest in, where to undertake offensives and how to utilize limited resources and reinforcements. Each turn, players gain an amount of Resource Points dependent on what nations are in the war, which they can allocate to different areas to guide their overall strategy. Victory is achieved by launching offensives that drain the morale of enemy nations, forcing them out of the conflict through collapse.
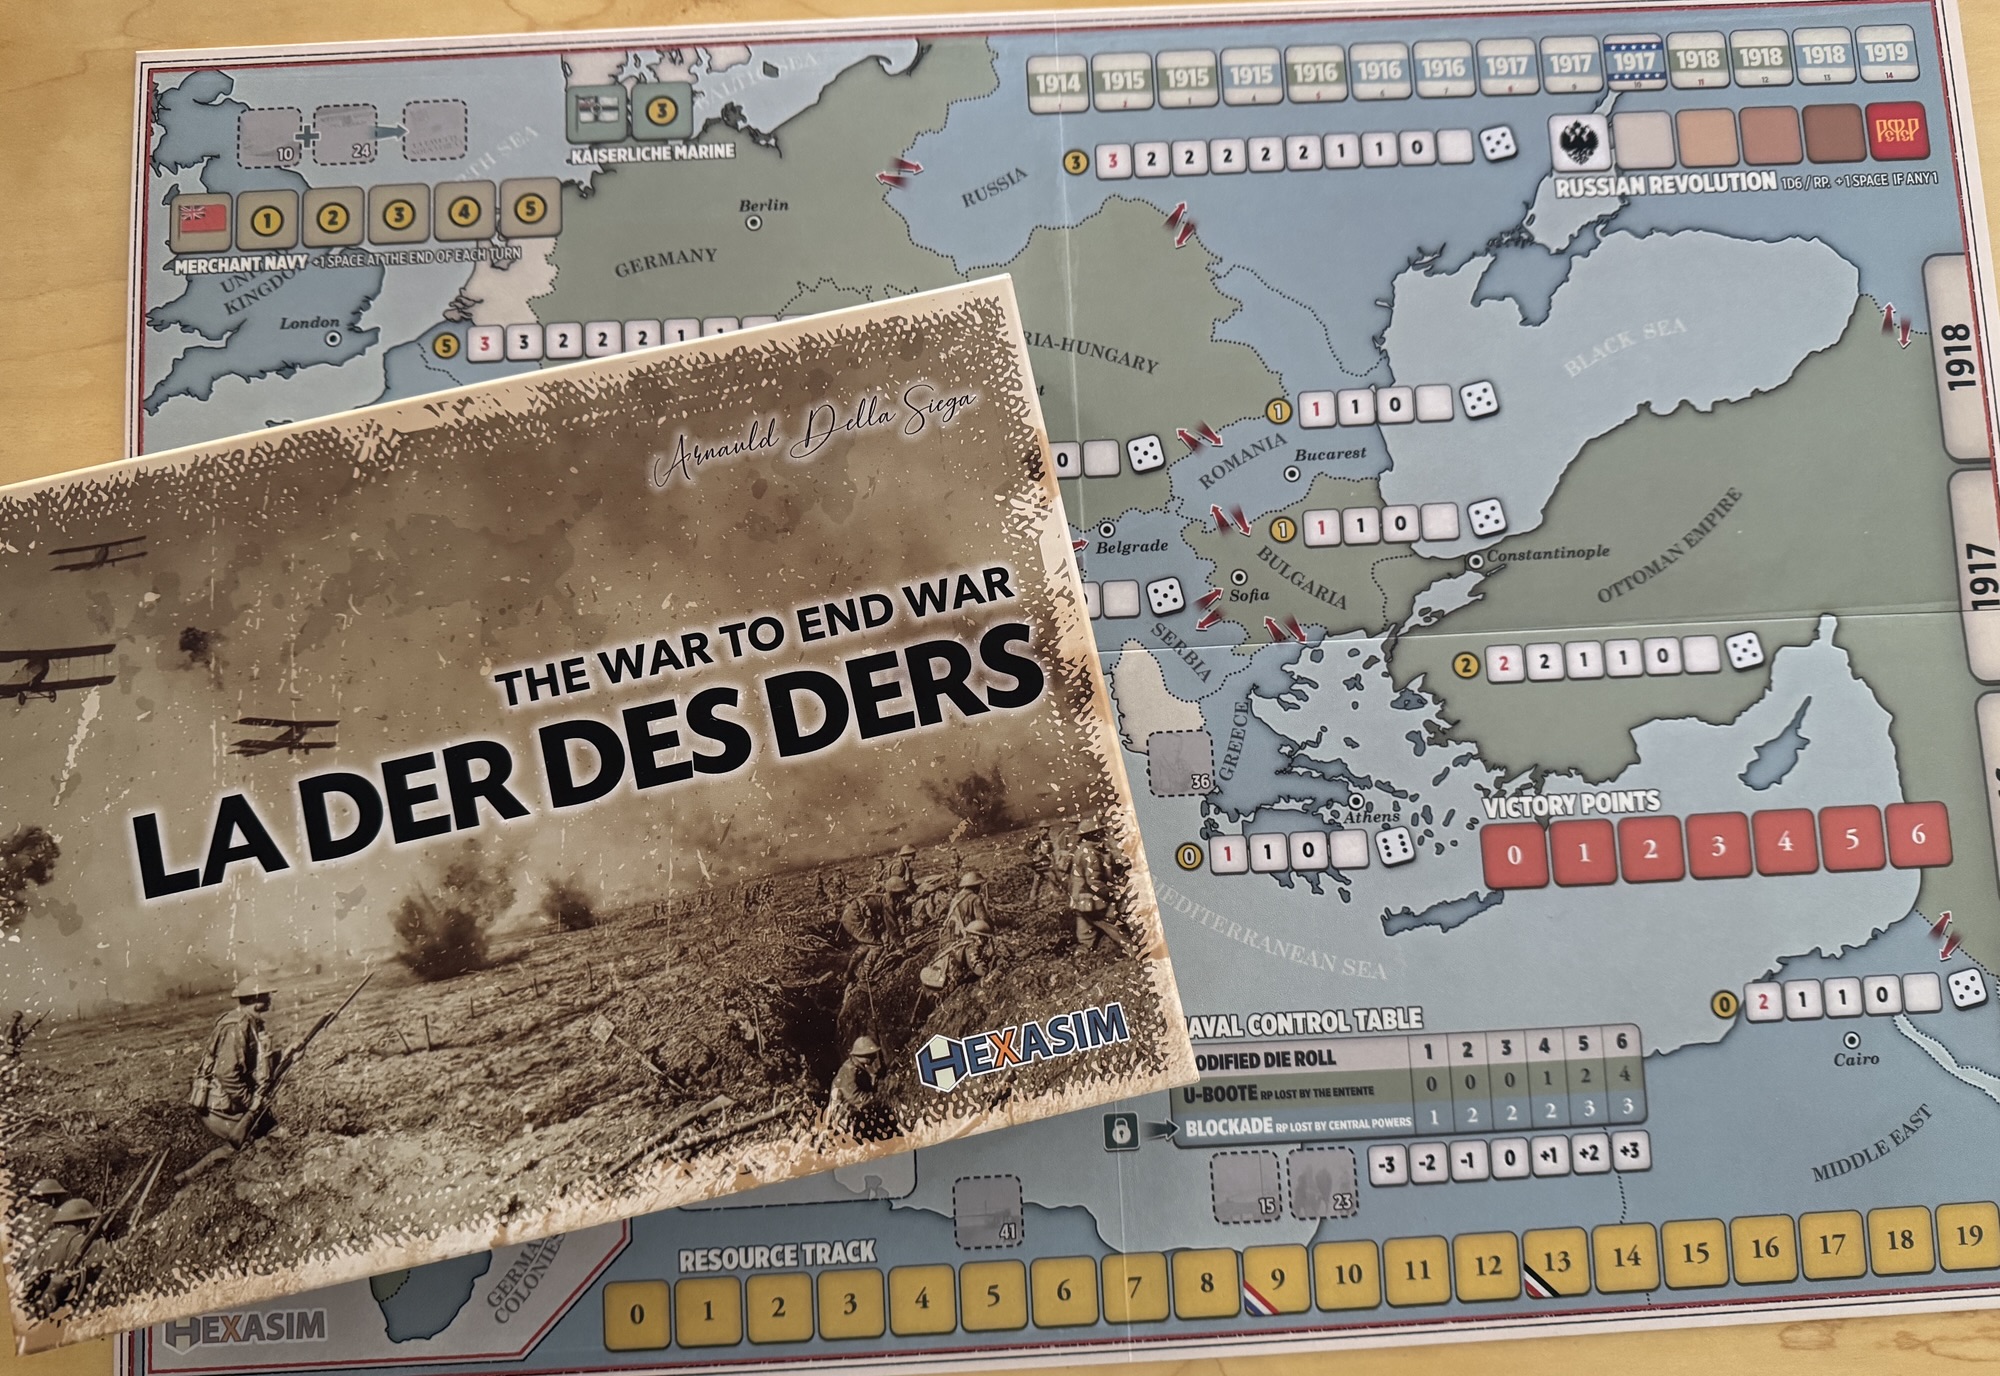
In Action Point 1, we looked at the Game Board, discussing the Collapse Tracks, Trade Tracks, Russian Revolution Track and Naval Control Table and other various on-board tables and offensive spaces. In Action Point 2, we covered the Technology Phase and the Technology Tree and Technological Improvement Boards. In Action Point 3, we examined the Event Cards and how they inject the historical narrative into the gameplay and also alter the conditions of the game. In Action Point 4, we walked through an example of an Offensive and took a look at the combat procedure. In Action Point 5, we reviewed the Victory Conditions. In this Action Point, which is the final entry in the series, we will give an overview of the “Athena” solitaire bot and how it works.
Athena
La Der des Ders – The War to End War is designed as a 2-player game but it does have a dedicated solitaire bot called Athena that can be used to simulate an opponent to play against. This Athena bot, named after the Greek goddess of strategy, can be used to play as either the Entente or as the Central Powers and is focused on the use of special cards referred to as Cornflower Cards. There are 12 of these Cornflower Cards and these are used to determine the various actions taken by the Athena bot during their turn. A solitaire play uses the usual rules for the 2-player game, with just a few exceptions.
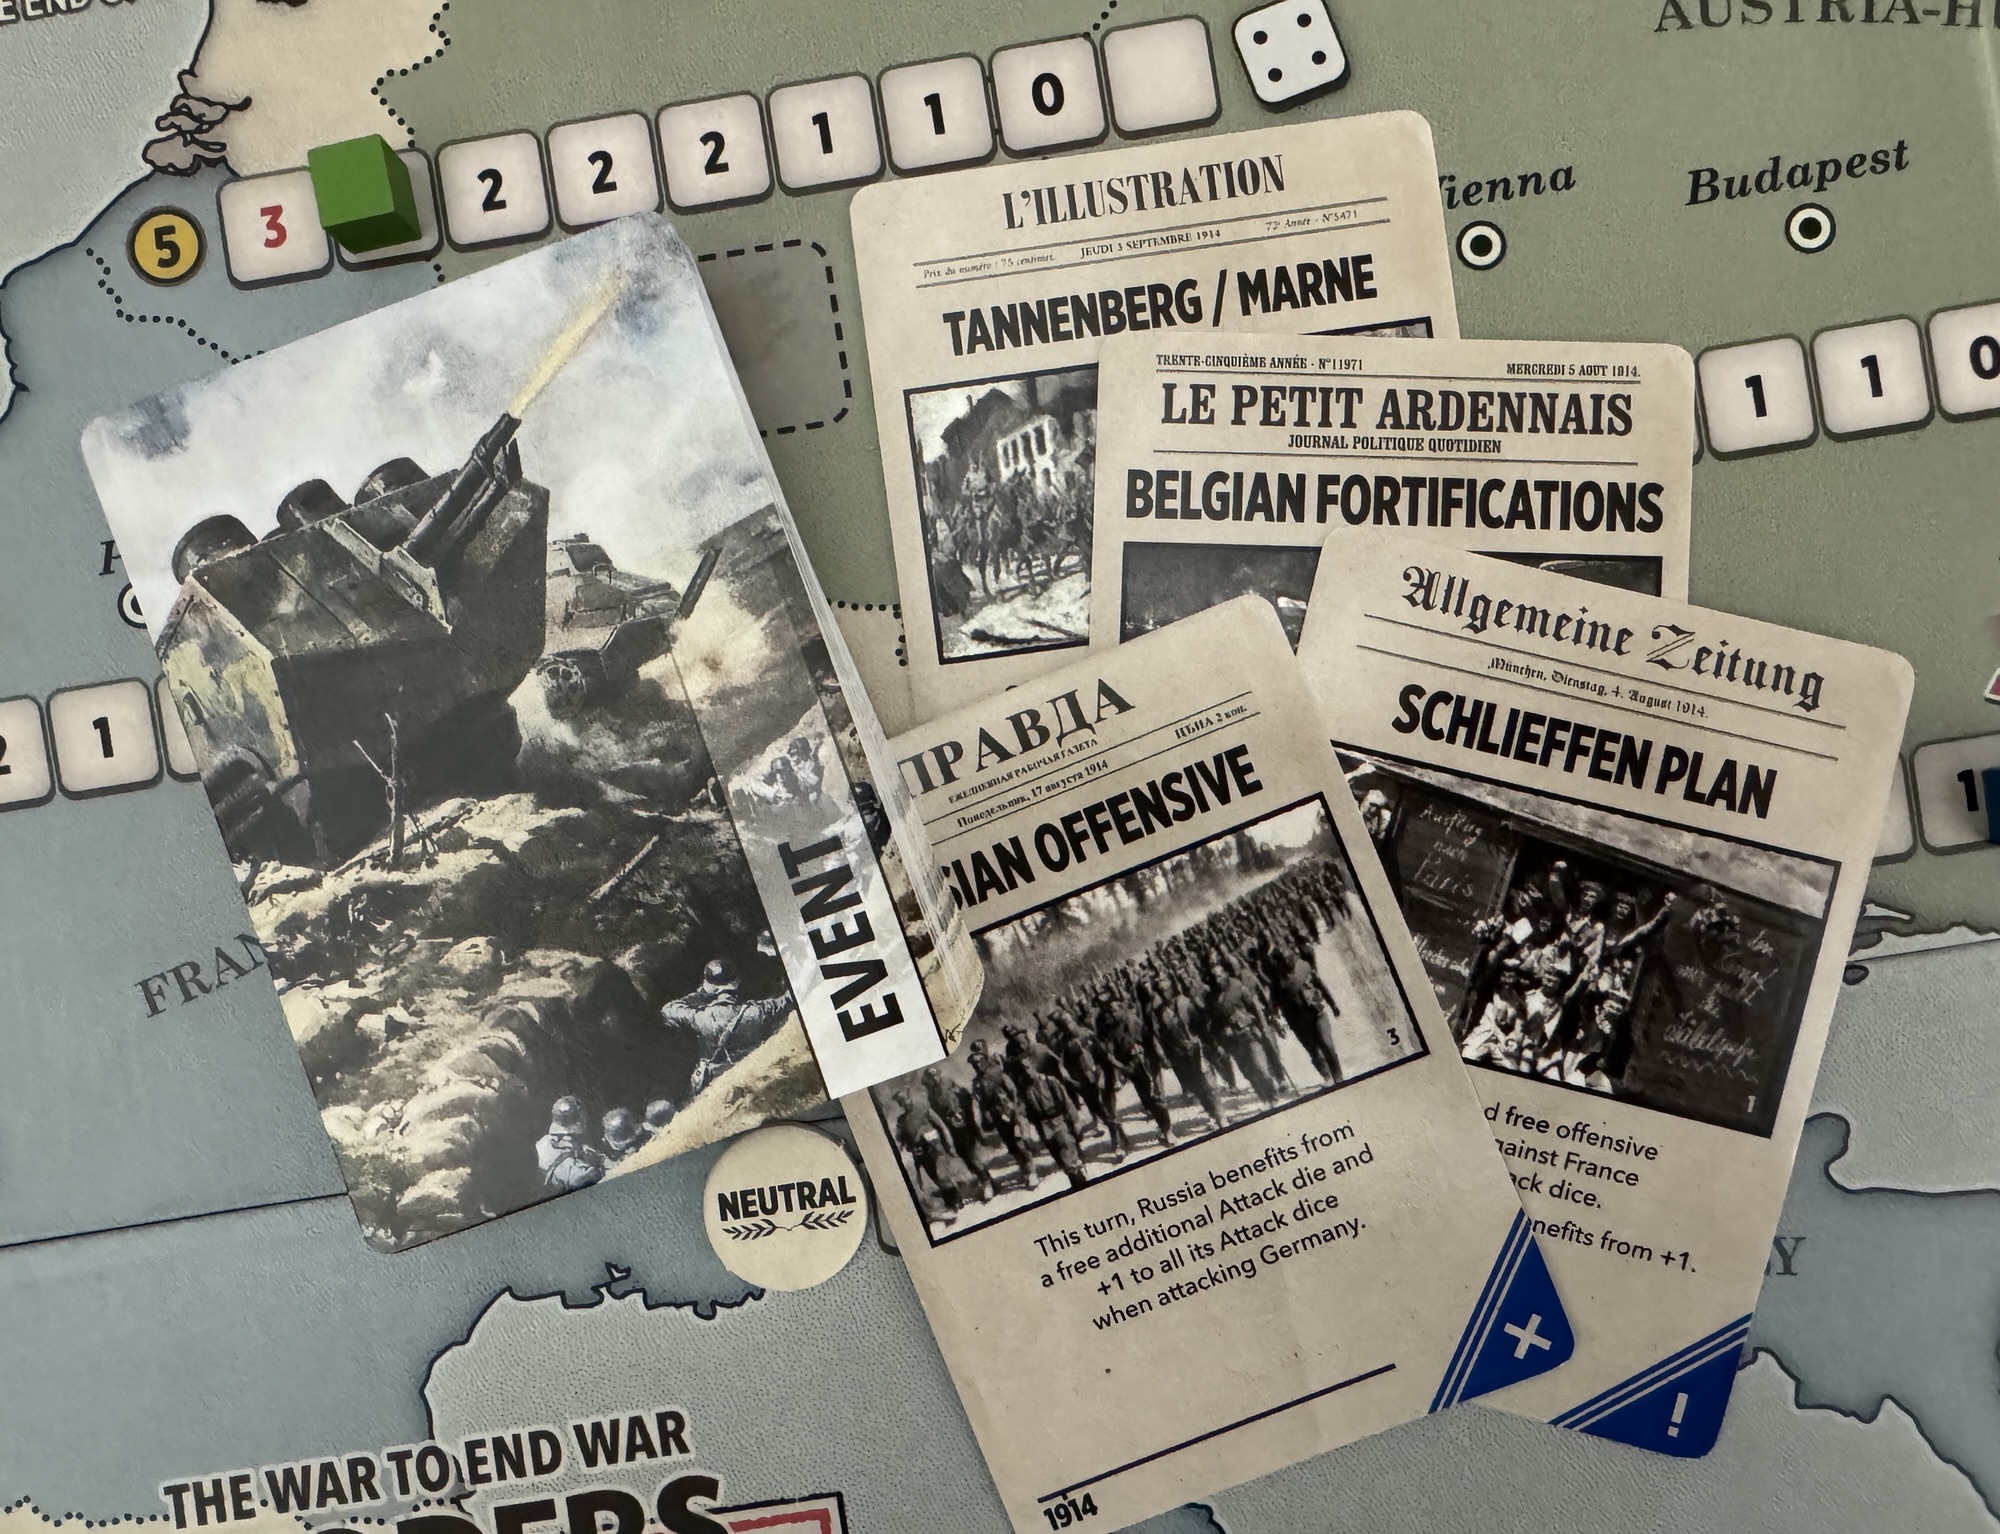
The Cornflower Cards are multi-use cards that are divided into 3 different sections to be used at different points of the Sequence of Play in a solitaire game. They are drawn and referred to during the Technology Development Phase, the Reinforcement Phase and the Offensive Phase. Let’s take a look at the anatomy of these cards. In the above picture, you will notice that there are 3 main categories listed at the top of the card including Technologies at the top, Reinforcements in the middle and Offensives on the bottom of the card. During the appropriate phase, the player will draw 1 Cornflower Card for the Athena AI.
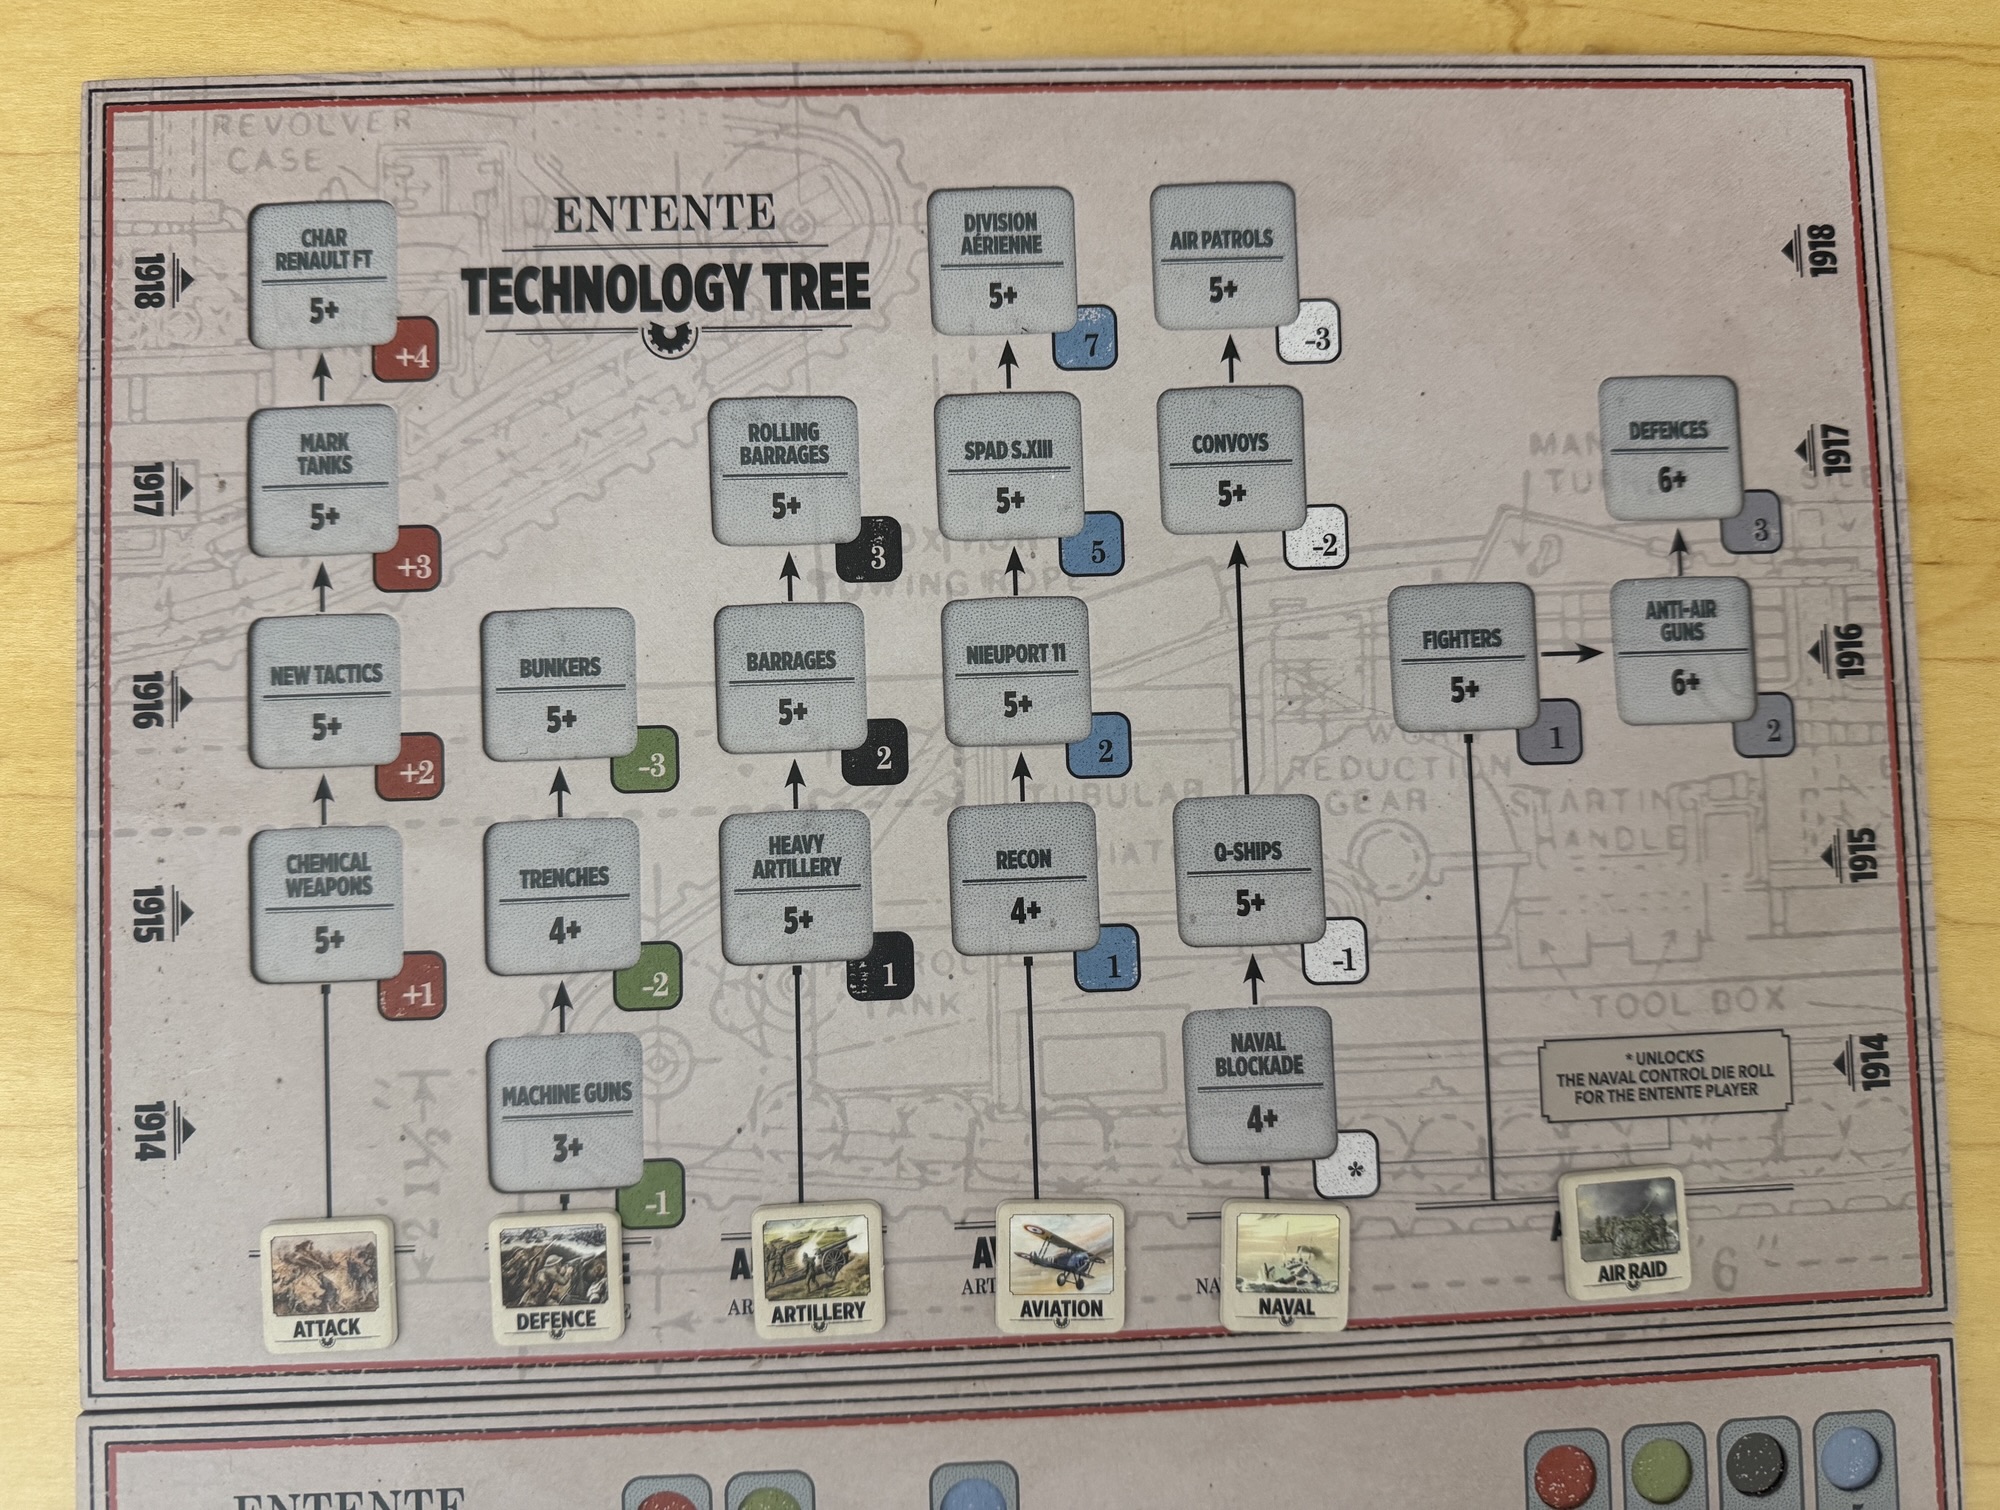
If it is the Technology Development Phase, the player will refer to the top of the card where there are listed the 6 different technologies that can be pursued. Under each of these categories will show the number of Resource Points that will be spent by Athena in order to attempt to unlock a new level in each of the technologies. If there is an X in that space, that means that Athena will not attempt to gain a level of that technology during this phase. If there is a 2 listed, this means that 2 RP will be spent and the roll for the technology will gain a +1 DRM. Keep in mind though, that if the technology shown is not available yet because the year it is available has not yet arrived, then the bot will not spend a resource to attempt that technology. If Athena doesn’t have enough Resource Points to make all the attempts shown on the card, she will spend as much as possible to attempt these technologies. Athena never re-rolls the die for these attempts by discarding a Technological Research Cube for previous failed attempts. One of the differences for Athena during this step is that if a success is earned in unlocking a level of technology, she will get to advance all cylinders of the corresponding technology in all sectors under Athena’s control. This means all of the countries of the alliance as well as the active minors. These technological improvements cost no Resource Points.
If it is the Reinforcement Phase, Athena will attempt to reinforce sectors that have suffered losses in previous turns according to the following priority order:
- The sector which suffered the most losses or in other words the sector whose cube is furthest from its maximum;
- The sector with the second most losses and then the sectors in the following order, ignoring the sectors already covered above:
- France, Russia, Italy, Serbia, Romania, Middle East, Africa, Greece (Entente), Germany, Austria-Hungary, Bulgaria, Ottoman Empire (Central Powers).
When you have chosen what sector is to receive reinforcements based upon the priority described, the player will draw as many Cornflower Cards as there are spaces separating the Sector Cube from the space with the red value. After drawing the cards, the player will count the instances of cards that have the name of that sector shown on them. If you look at the 3 cards shown above, if doing reinforcements for Germany they would move their Sector Cube up only 1 space on the Collapse Track as once Germany is listed in the middle of the card under Reinforcements. Very simple. Athena will also have to spend the required Resource Points from their total to actually move the Sector Cube up and if they cannot afford all of the reinforcements shown by the cards, they will move and pay for what they can afford. This phase ends when Athena no longer has enough Resource Points, or when all the sectors have been able to try to obtain reinforcements.
Finally, if it is the Offensive Phase, each side launches an offensive in turn starting with the side that has the initiative. When it is Athena’s turn to attack, the player will draw one Cornflower Card and refer to the bottom portion of the card, which will indicate the sector Athena is attacking. The sector to be attacked will be the one on the left of the card if Athena is playing the Entente, and the one on the right if she is playing as the Central Powers. The sector indicated on the card must always be attacked by the sector that has the best chance of inflicting damage. This usually means the sector with the highest current Operational Value and that has not yet launched an Offensive this turn. In the event of a tie, preference should be given to the sector least likely to be able to attack elsewhere during a later card draw in the turn. The size of the Offensive will be equal to the current Operational Value of the attacking sector only if the number of Resource Points Athena has remaining will allow for it. Otherwise the Offensive is reduced to the number of remaining RP. Once Athena’s Resource Points have been spent, the dice rolled and any losses applied, the player will then take their own turn to launch an Offensive or decide to pass. Then Athena will draw a new Cornflower Card to determine their next
Offensive. If there are ever 3 Cornflower Cards drawn by Athena without having the ability to attack because of sector availability or Offensives by adjacent sectors have already been taken, the Offensive Phase will come to an end.
That is all there is to the Cornflower Cards and the Athena bot. It is a really well designed system that removes most of the work by the player when playing solitaire. There will be times when you have to make a decision, as described above with Offensives, but these decisions are easy and the hard work is done by the simple flipping of a card.
I do want to point out one final thing. The sequence of play differs slightly from the 2-player game as it rearranges when the Athena bot does a few of the steps during the Spend Resource Points Phase as shown below. The human player will start by doing their Reinforcements first followed by their Technology investment. Athena will then go and do their Technology investment first followed by Reinforcements. Both players will then move into the Offensive Phase and the player with initiative as shown on the turn track will take the first Offensive of the turn.
The Athena bot works very well as a playable solitaire experience for La Der Des Ders. The Cornflower Cards are a stroke of genius and really are easy to use, which makes playing the game a much better experience. I found that the bot actually holds its own in the game, even though they are not in total control of their own actions like a human player would be. The changes also made in the Sequence of Play as well as to the way Technology Investments work more than make up for the lack of true intelligence by the system and will definitely give the player a run for their money. I have played the game about 5 times solitaire, both as the Entente and as the Central Powers, and have won just 2 out of 5 tries. But the experience was easy, enjoyable and pretty seamless. The game really is a great example of a slightly abstracted strategic level look at World War I and I would wholeheartedly recommend this game to anyone who has an interest in The Great War.
I shot a playthrough video for the solitaire system and you can watch that at the following link (beware as I did make a few errors but I have found errors make viewers understand the rules of the game better):
I also did a video review and you can watch that at the following link:
Thank you for allowing me to share this game with you through this series of posts over the past several months. I have very much enjoyed doing these and I hope that you find them helpful.
-Grant
![]()