Normale Ansicht

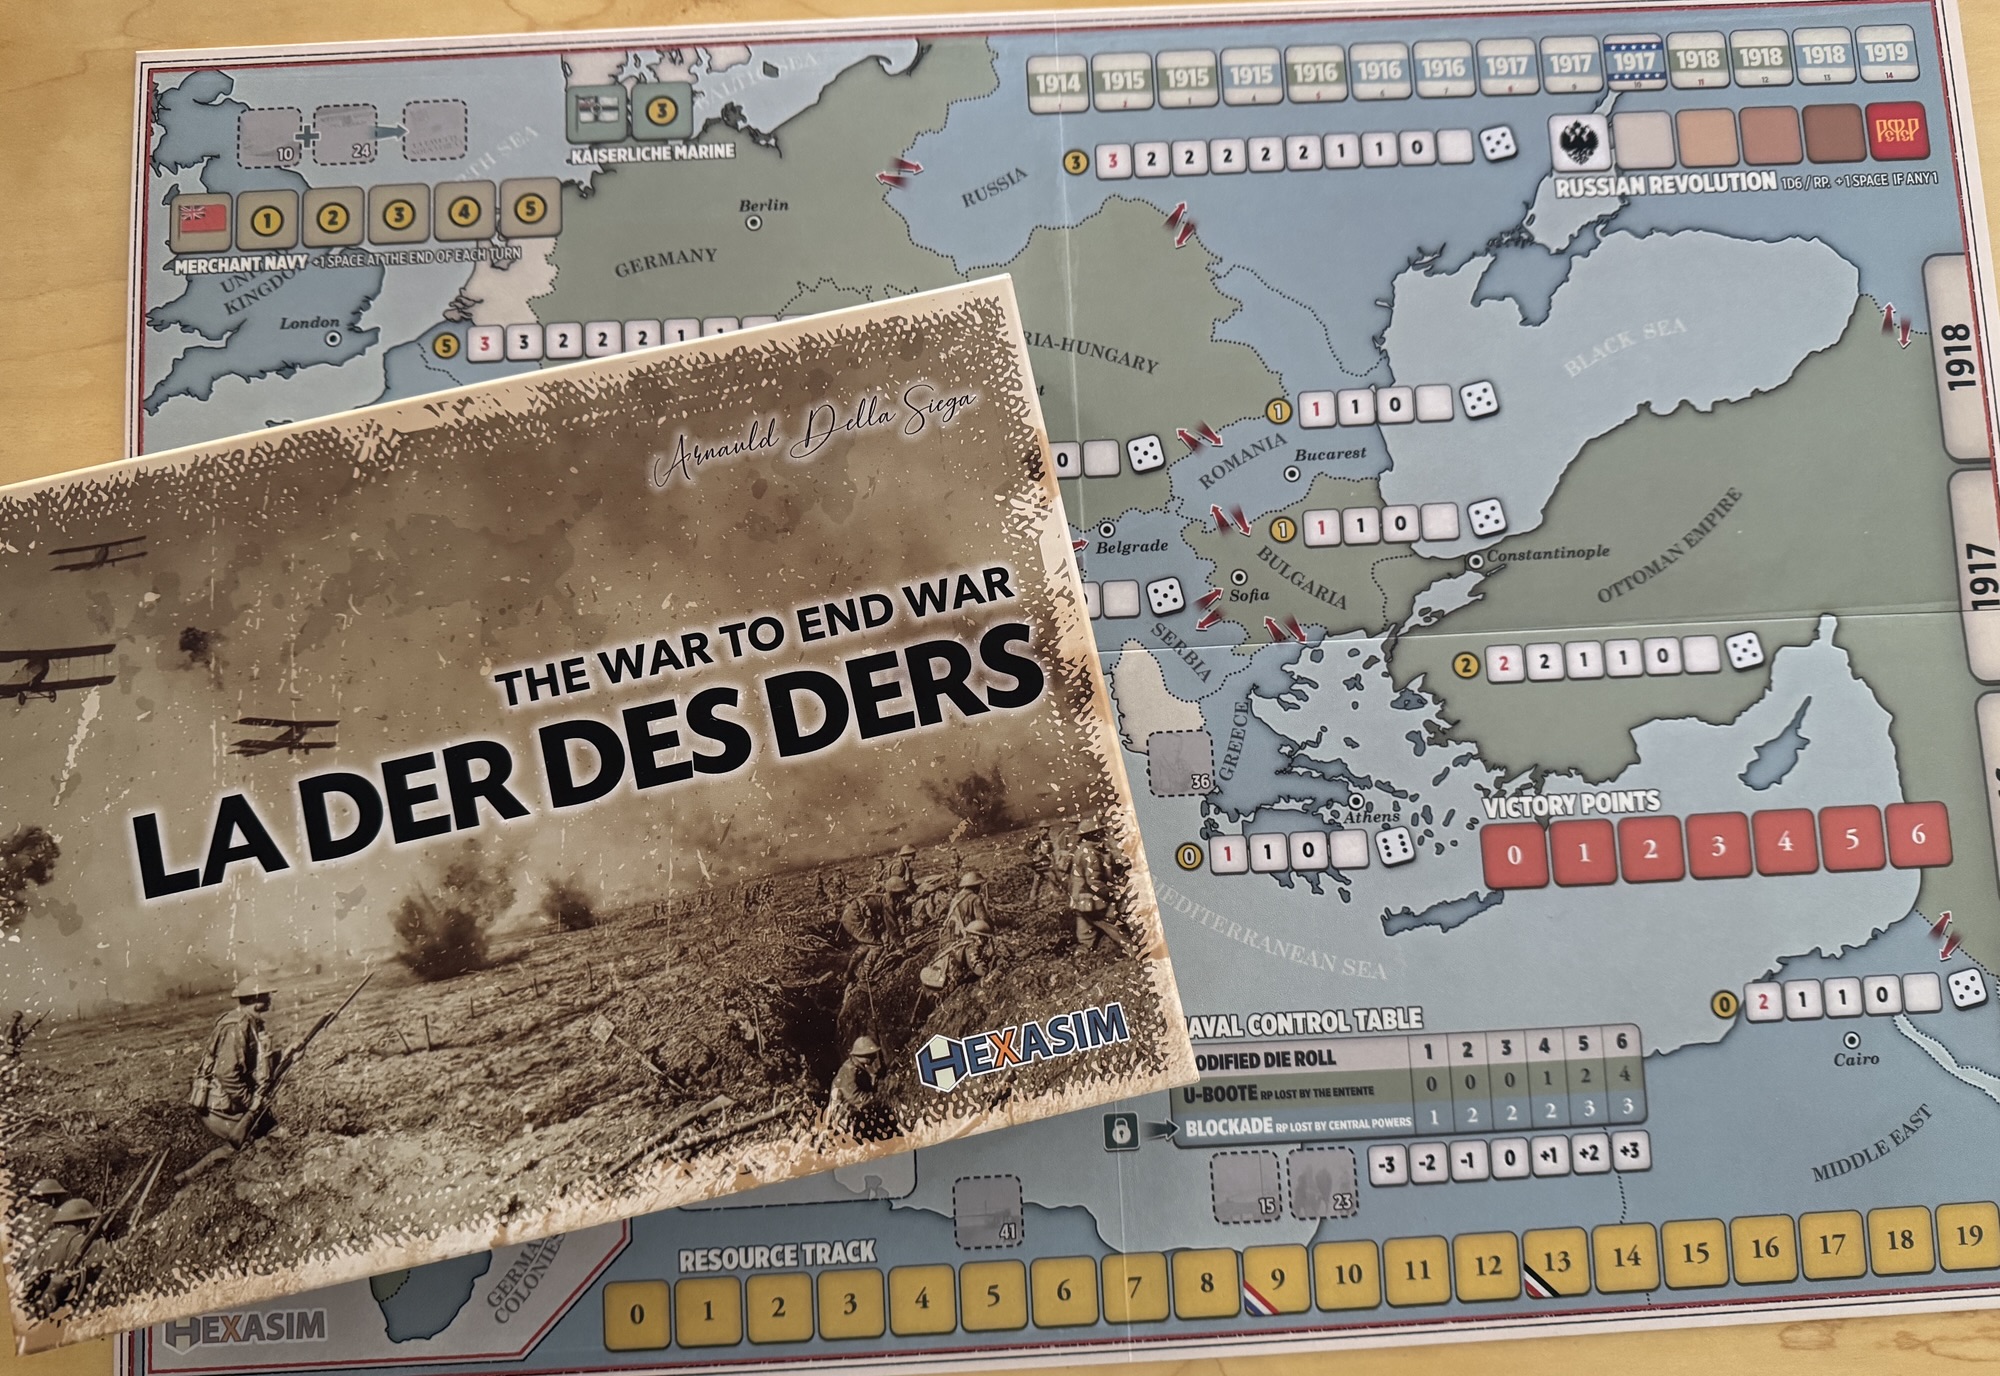
La Der des Ders – The War to End War from Hexasim – Action Point 3

Von: Grant
26. Februar 2026 um 14:00

La Der des Ders – The War to End War from Hexasim is a 1-2 player slightly abstracted strategic level look at World War I. The game allows the players to relive the First World War at a strategic level, with each player controlling one of the 2 sides either the Entente, consisting of France, England, Russia, Serbia and other minor nations or the Central Powers including Germany, Austria-Hungary, the Ottoman Empire and a few minors. La Der des Ders can also be played solo, with a dedicated solitaire bot called “Athena” who utilizes special Cornflower Cards to make decisions about what technologies to invest in, where to undertake offensives and how to utilize limited resources and reinforcements. Each turn, players gain an amount of Resource Points dependent on what nations are in the war, which they can allocate to different areas to guide their overall strategy. Victory is achieved by launching offensives that drain the morale of enemy nations, forcing them out of the conflict through collapse.

In Action Point 1, we looked at the Game Board, discussing the Collapse Tracks, Trade Tracks, Russian Revolution Track and Naval Control Table and other various on-board tables and offensive spaces. In Action Point 2, we covered the Technology Phase and the Technology Tree and Technological Improvement Boards. In this Action Point, we will take a look at the Event Cards and how they inject the historical narrative into the gameplay and also alter the conditions of the game.

Event Cards

La Der des Ders has used the vehicle of Event Cards to inject the historical events and happenings of World War I into the game. This choice makes a lot of sense and plays into some of the game’s mechanics such as the Air Raid Technology that we discussed in the last post. At the outset of each turn, the players will be instructed to draw 3 Event Cards from the Event Deck. These are the 3 cards that will be in effect for this portion of the year as each of the years are divided into 3 separate turns representing roughly 4 months, with the exception of 1914 which represents the period of August through end of December that year. At setup, the player will divide the Event Cards by year to make 5 piles (1914, 1915, 1916, 1917 and 1918). Then they will take the 1914 Deck, shuffle it and
place it on the game board, in its dedicated box. Place the other decks on the right of the game board, near their
respective boxes on the Turn Track.

The 4 Event Cards for 1914.

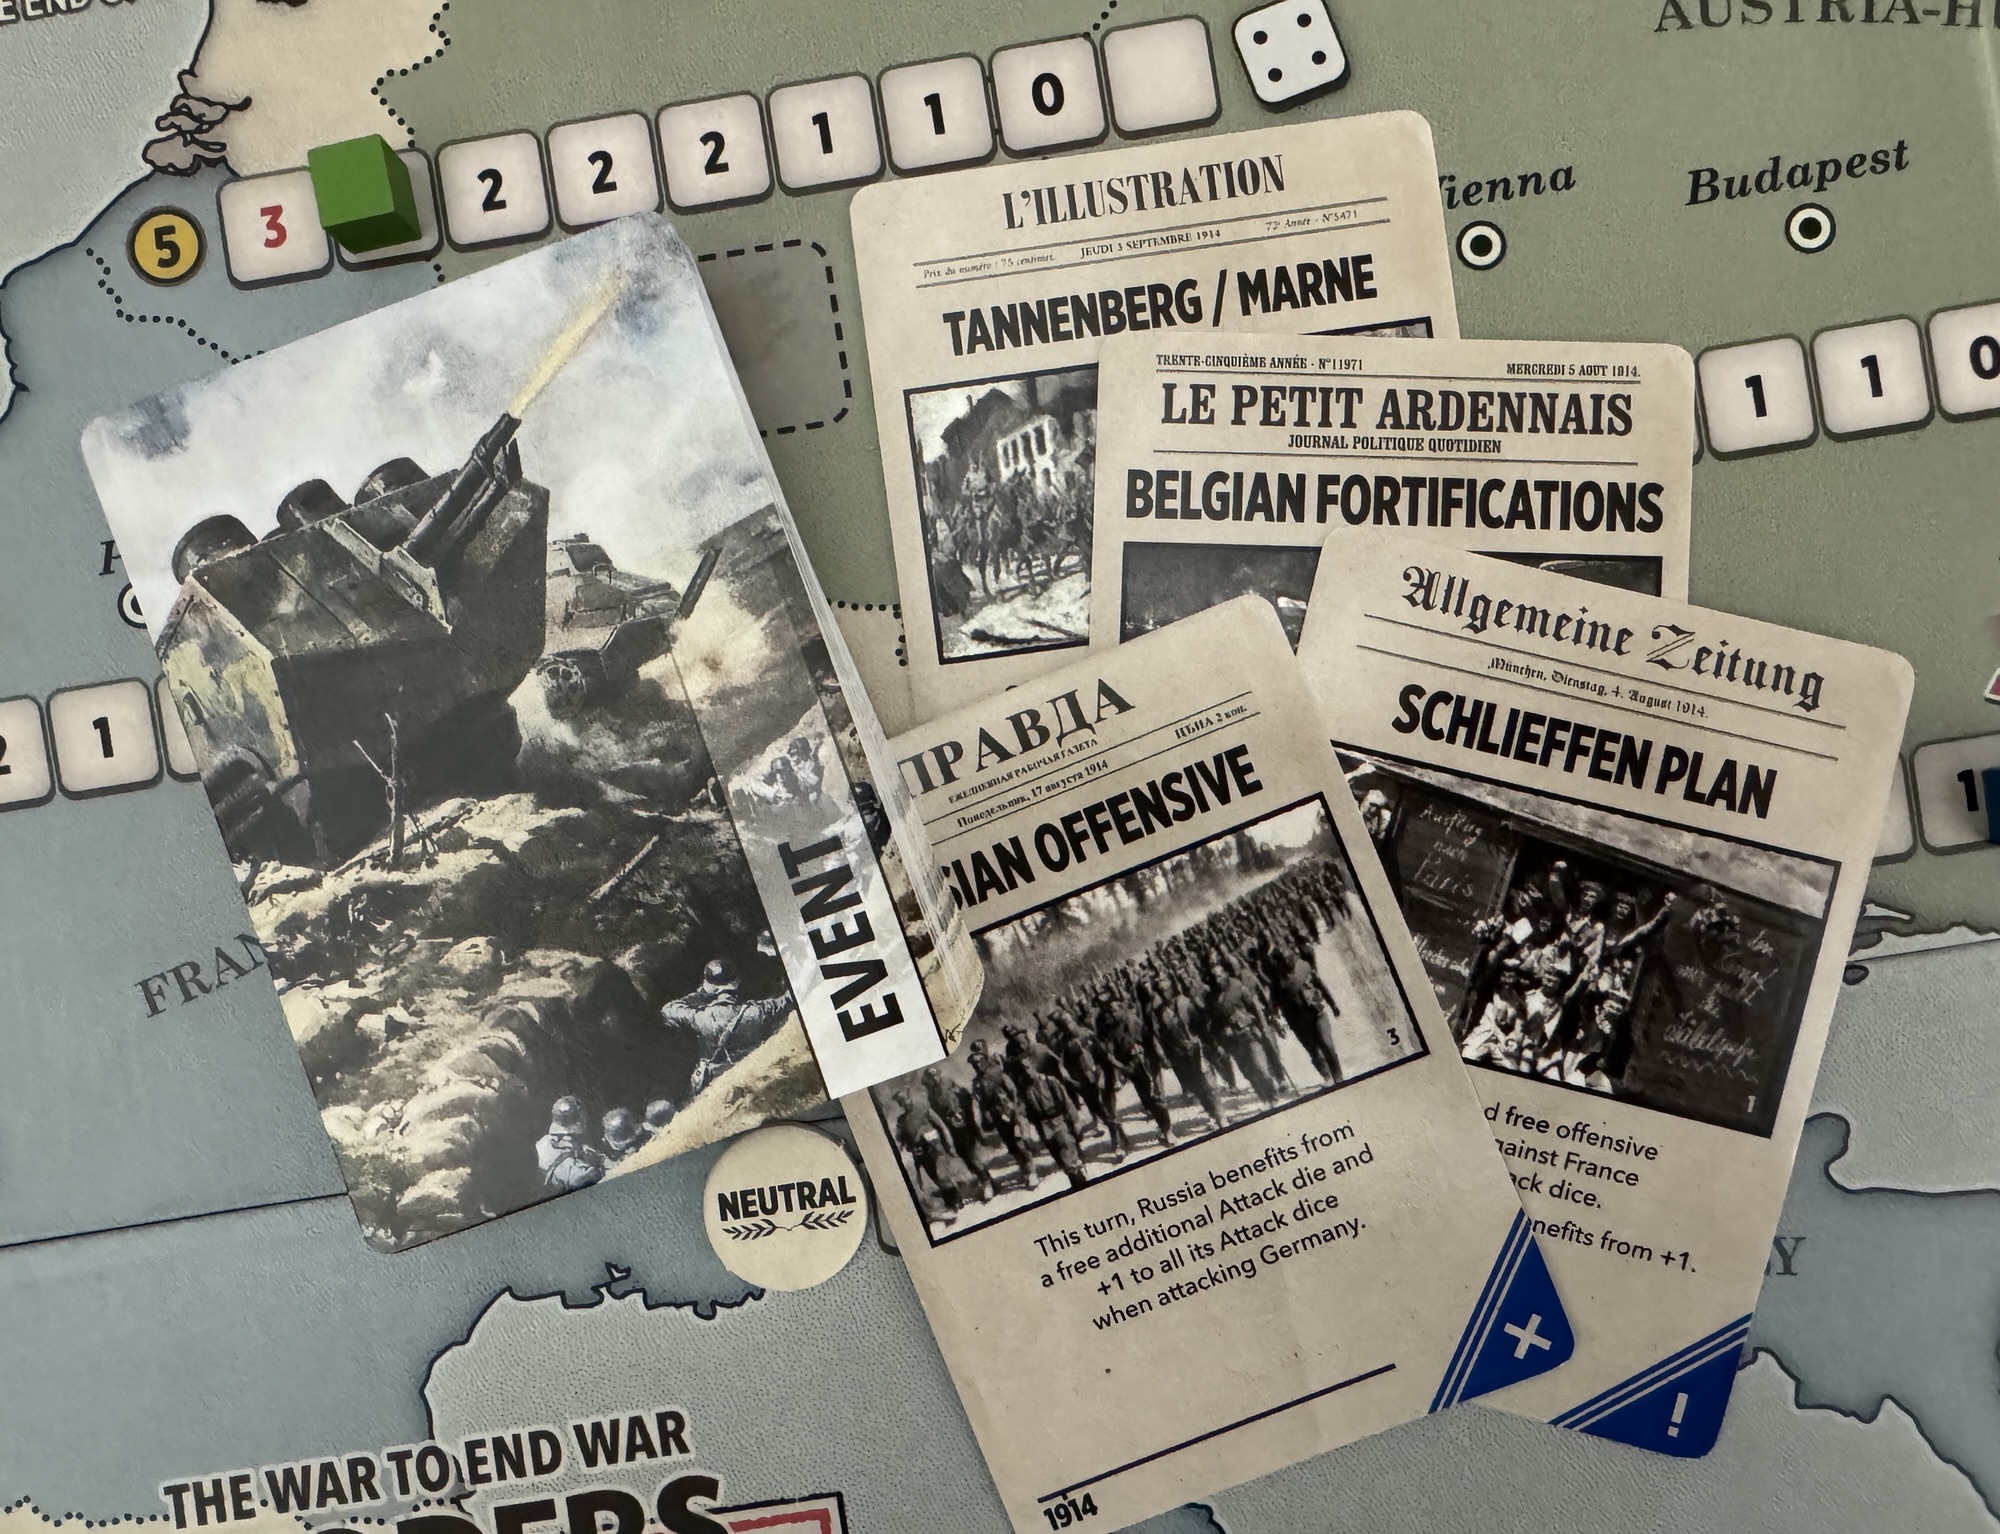
Some of the Events are applied immediately when drawn, while others take effect later in the turn. This is all typically based upon the color of the symbols found on the cards in the bottom right hand corner and the symbol that coincides with a specific phase, such as the Resource Phase or Offensives Phase. In the picture below, you can see different examples of these cards and their color and symbols. These are Event Cards from 1914 on the left all the way through 1918. Also, some of the Events are only applicable in 1914. These Events will be marked with a blue corner. In the picture above you can see the 4 different 1914 Event Cards and their blue corners. Some Events have effects that apply until the end of the game, while others until they are cancelled. The text found on the cards is generally self-explanatory and I only found maybe 1 instance where I had to really think over what the card was trying to tell me to do. If you need additional information about the meaning of the cards and to find a bit of clarity, you can refer to the Events List in the rule book for more information.

Blue corners mean that the effect is no longer applicable after the year 1914. Red corners mean that this card can never be cancelled by using the Air Raid Technology. I found that this was the thing that I missed the most in my plays. Green corners mean this card may be cancelled with the Air Raid Technology but only under certain
conditions. Most of the Event Cards do things like allow for additional Offensives that turn at no cost, add a +1 DRM to Offensive rolls, or make Offensives cause more losses (but at a cost as that Offensive will cause you to lose troops as well) and the like. They are not game breaking but do inject some very interesting bonuses into the mix that will cause you to think about your plan for the use of of your Resource Points for that turn.

One final thing that I want to point out about some of the Event Cards. Some of the Events will instruct the player to place out a marker onto the board. On the board, there are several dashed boxes with small white numbers printed in them in specific locations. These are the Event Boxes and act as a reminder of the effects of various Event Cards when they are pulled. When Event Cards happen, some will provide the players with a counter that should be placed in these boxes to remind them of the effects of the historical events. These act as an mnemonic device and are very helpful.

These include the introduction of specific characters from history, special Events that occurred that changed the course of the war or had an effect on countries and their allegiance or that simply allow one of the many minor nations on the board, such as Italy, Romania, Bulgaria and Greece, to join either the Entente or the Central Powers. Here is a list of those special Events:

•  #6 – Von Lettow in Africa
• #10 – The Lusitania Torpedoed
• #15 – Major German Defeat (Battle of Jutland)
• #16 – Wilson Intervenes!
• #23 – Unrestricted Submarine Warfare
• #24 – Zimmermann Telegram
• #35 – Unified Command
• #36 – Louis Franchet d’Espèrey
• #41 – Pariser Kanonen

I mentioned the characters that are introduced by Event Cards and one of my favorite is the Von Lettow in Africa Event Card. This card refers to Paul von Lettow-Vorbeck who was a German General who commanded the Schutztruppe (colonial forces) in East Africa. Leading a small force of 3,000 Germans and 11,000 African Askari, he fought a brilliant guerrilla campaign against superior Allied forces (up to 300,000 men), never losing a battle and surrendering only after the 1918 armistice. The effects of this Event are that any Offensives by the Central Powers undertaken in Africa will not cost any Resource Points. This card will not appear until 1915 but can be a real boon to the CP player as they can continue hammering on the African Entente trying to get them to Collapse and no longer contribute their Production Value to the Entente war effort.

One of the major events that are covered by the Event Cards include the likes of the sinking of the Lusitania by the German U-Boats. On May 7, 1915, a German U-Boat torpedoed and sank the British ocean liner RMS Lusitania off the Irish coast. The ship sank in just 18–20 minutes, killing 1,198 of the 1,959 people on board, including 128 Americans. The attack spurred international outrage and shifted U.S. public opinion against Germany, contributing to the eventual American entry into the war. The effects of the is card include the placement of the Lafayette Marker above the Merchant Navy Track and indicates the number of additional Resource Points awarded to the Entente for the current turn. This support was basically from the United States of America as their citizens were killed in the tragedy and can be a very tough pill to swallow for the Central Powers as it is a death knell due to additional resources to bring more troops and focus more attention on Technology and the launching of Offensives.

The Event Cards are a key part of the game and really make it different from play to play as events might come out in a different order giving the player new opportunities to exploit or new dilemmas to plan for and deal with.

In Action Point 4, we will go through an example of an Offensive and take a closer look at the combat procedure.

-Grant

La Der des Ders – The War to End War from Hexasim – Action Point 1

Von: Grant
12. Februar 2026 um 14:00

La Der des Ders – The War to End War from Hexasim is a 1-2 player slightly abstracted strategic level look at World War I. The game allows the players to relive the First World War at a strategic level, with each player controlling one of the 2 sides either the Entente, consisting of France, England, Russia, Serbia and other minor nations or the Central Powers including Germany, Austria-Hungary, the Ottoman Empire and a few minors. La Der des Ders can also be played solo, with a dedicated solitaire bot called “Athena” who utilizes special Cornflower Cards to make decisions about what technologies to invest in, where to undertake offensives and how to utilize limited resources and reinforcements. Each turn, players gain an amount of Resource Points dependent on what nations are in the war, which they can allocate to different areas to guide their overall strategy. Victory is achieved by launching offensives that drain the morale of enemy nations, forcing them out of the conflict through collapse.

In this series of Action Points, we will first take a look at the Game Board, discussing the Collapse Tracks, Trade Tracks, Russian Revolution Track and Naval Control Table and other various on-board tables and offensive spaces, cover the Technology Phase and the Technology Tree and Technological Improvement Boards, take a look at the Event Cards and how they alter the game, go through an example of an Offensive and the combat procedure, review the Victory Conditions and give an overview of the “Athena” solitaire bot and how it works.

Game Board

The Game Board used in La Der des Ders covers the entirety of the European and Eastern portions of World War I and is a simplified geographical representation of the major players involved in the war. You will not find anything more than simple borders of countries and then not all of each country is represented in its entirety such as the Ottoman Empire of the vastness of the Russian steppes. There is also an inset map in the bottom left hand corner that covers the war in Africa. The Game Board is divided up into what are called Sectors representing both the major and minor powers involved in World War I. These Sector representations are illustrative of the main countries that took part in the war and one Sector can actually represent multiple countries. For example, in the case of France, you will notice that England really has no specific direct playable area or a Collapse Track of its own on the Game Board other than the graphical representation of their island nation. The British troops, along with those of Belgium, are abstracted into those of France for simplicities sake and to meet the design goals of the game. To further differentiate these Sectors from each other and to make playing visually simpler, the Sectors are shaded blue if they belong to the Entente and then green if they are part of the Central Powers.

The Collapse Tracks

Let’s take a closer look at the various information that is contained in these Sectors. Above is a picture focused on Germany with France (lower left), Austria-Hungary (on the right) and Russia (upper right) also included. You will first notice a line of small boxes with numbers listed in each box numbered from 3 on the far left descending to 0 and a blank box on the far right. These numbers are referred to as the Operational Value. This Track is referred to as the Collapse Track and represents the morale, fighting spirit, economic stability, martial resources and preparation of each of the countries for war in the game. On the left end of the Collapse Track is the country’s Production Value printed in a yellow circle. The Production Value corresponds to the number of Resource Points (RP) that will be generated by this sector at the start of each turn, if it is at war. If this Production Value number is printed in black, this means that this Sector is at war at the start of the game. If the Production Value is printed in white, the Sector is not at war at the start of the game but will enter the war through the appropriate Event Card being drawn. If a Sector is not at war but is Neutral, for purposes of the game this means that it does not generate any Resource Points.

At the start of the game, a wooden cube is placed in the space to the right of the box containing the red value. As losses are inflicted in this Sector due to Offensives or Event Cards, the cube will be moved to the right on the Collapse Track. When the Sector receives reinforcements, the cube will be moved moved to the left. The cube will never be placed on the space with the red value and the player must read the number in the box to the left of the cube to ascertain the current Operational Value. The numbers indicate the maximum amount of Resource Points that can be allocated to this Sector during an Offensive, which will also determine the size and number of dice that are used for the Offensive. This Operational Value will change throughout the game due to losses in Offensives or due to specific Event Cards. If the cube ever reaches the end of the Collapse Track, and another reduction must be made, the country will surrender and fall to their enemies.

The other important piece of information found on the far right side of the Collapse Track is the Attack Value. The Attack Value is used for Offensives and is how players determine whether they score hits or not with their troops and artillery. This Attack Value is represented by a die face that shows the number needed to hit. If the rolled Attack Dice are equal to or greater than the printed Attack Value a hit will be scored and losses will be taken by the defender by moving the cube down on the Collapse Track. This Attack Value can be modified through the advancement of technologies including on Attack and on Defense. The player will simply add up all applicable modifiers from these Technologies or from Event Cards and then reduce or increase that target Attack Value accordingly.

Offensive Arrows

Shown on the board are the Offensive Arrows that will remind the players about what Offensives they can undertake, meaning what Sectors may be attacked, and what Sectors have already taken their one Offensive against that adjacent Sector per turn. These are identified by red arrows connecting adjacent Sectors and will be covered up by the appropriate Offensive Marker when undertaken. In the below picture, we will take a look at Serbia as an example. You can see that Serbia is surrounded by Central Power countries including Austria-Hungary and Bulgaria (Neutral at the start of the war). They also have a few of their Allied nations adjacent including Romania (Neutral at the start of the war) and Greece (Neutral at the start of the war). From each of the adjacent Sectors there are 2 Offensive Arrows represented meaning that this Sector can both be attacked and can attack the adjacent Sector.

It is important to remember that an individual Sector can only launch one Offensive per turn, and that is always against an enemy sector adjacent to it. During the same turn, a sector may be attacked by several adjacent enemy sectors, but each Offensive is resolved separately.

Trade Tracks

There are two Trade Tracks shown on the Game Board, both of which are located in the top left hand corner of the board, 1 for the Entente (Merchant Navy) and the other for the Central Powers (Kaiserliche Marine). These 2 tracks provide additional Resource Points to both sides at the beginning of a turn when they are collecting income. Naval Control die rolls can modify the number of RP’s received at the beginning of a turn. It is important to remember that the Merchant Navy Marker is moved forward 1 space at the end of each turn, which will result in advancing the Production Marker of the Entente. If the Lafayette Marker is on this track, it is also moved forward 1 space. These markers are never moved to the left. Once the end of the track has been reached, the markers will no longer need to be moved.

Russian Revolution Track

The Russian Revolution Track indicates the advance of the Russian people towards their ultimate Revolution, which historically broke out in March 1917. The Russian Revolution Marker will begin the game in the white
space. This marker may be moved to the right each time Russia obtains reinforcements. It is never moved to the left. When this marker reaches the last space, Revolution breaks out and Russia will no longer produce resources and can no longer receive reinforcements.

Naval Control Table and Track

The Naval Control Table is used to represent the efforts of the German U-Boat attacks on commerce and mimic the associated receipt of foreign support by the Entente from the United States of America. At the outset of each turn, a die is rolled and the table referred to in order to determine a possible number of lost Resource Points. There are 2 rows on the table, 1 being the U-Boat for the Central Powers and the other the effects of the Blockade for the Entente.

The track located under the Naval Control Table indicates the modifier that will be applied to the Central Powers’ Naval Control die rolls. It takes into account the Naval Technology levels of the Central Powers and that of the Entente. At the start of the game, only the Central Powers can carry out a Naval Control die roll. You may notice the small gray box with a lock linked to the Naval Control Table that indicates that the Entente cannot carry out a Naval Control die roll yet. Only once it has unlocked Naval Technology Level 1, can the Entente perform Naval Control die rolls.

There are also several administrative tracks on the Game Board including the Resource Track, used to track the current Resource Points of both the Entente and the Central Powers, the Turn Track and the Victory Point Track. You will also notice lots of dashed boxes with small white numbers printed in them all over the board. These are the Event Boxes and act as a reminder of the effects of various Event Cards when they are pulled. When Event Cards happen, some will provide the players with a counter that should be placed in these boxes to remind them of the effects of the historical events.

One final comment on the Game Board. Marc von Martial is the artist and he has done an excellent job with this game board as it is truly functional and aids play but also is very attractive and has a very clean and pleasing aesthetic. I enjoy the choice of colors, even though these old eyes are starting to have trouble differentiating gray and green when they are both light, that work well together and the tracks and information found on the board are all crisp and clean and easily read. I just like the overall appearance of the game board and wanted to congratulate him on his exemplary graphic design work.

In Action Point 2, we will cover what I would consider one of the better parts of the game in the Technology Phase and the Technology Tree and Technological Improvement Boards.

-Grant

❌