La Der des Ders – The War to End War from Hexasim – Action Point 4
La Der des Ders – The War to End War from Hexasim is a 1-2 player slightly abstracted strategic level look at World War I. The game allows the players to relive the First World War at a strategic level, with each player controlling one of the 2 sides either the Entente, consisting of France, England, Russia, Serbia and other minor nations or the Central Powers including Germany, Austria-Hungary, the Ottoman Empire and a few minors. La Der des Ders can also be played solo, with a dedicated solitaire bot called “Athena” who utilizes special Cornflower Cards to make decisions about what technologies to invest in, where to undertake offensives and how to utilize limited resources and reinforcements. Each turn, players gain an amount of Resource Points dependent on what nations are in the war, which they can allocate to different areas to guide their overall strategy. Victory is achieved by launching offensives that drain the morale of enemy nations, forcing them out of the conflict through collapse.
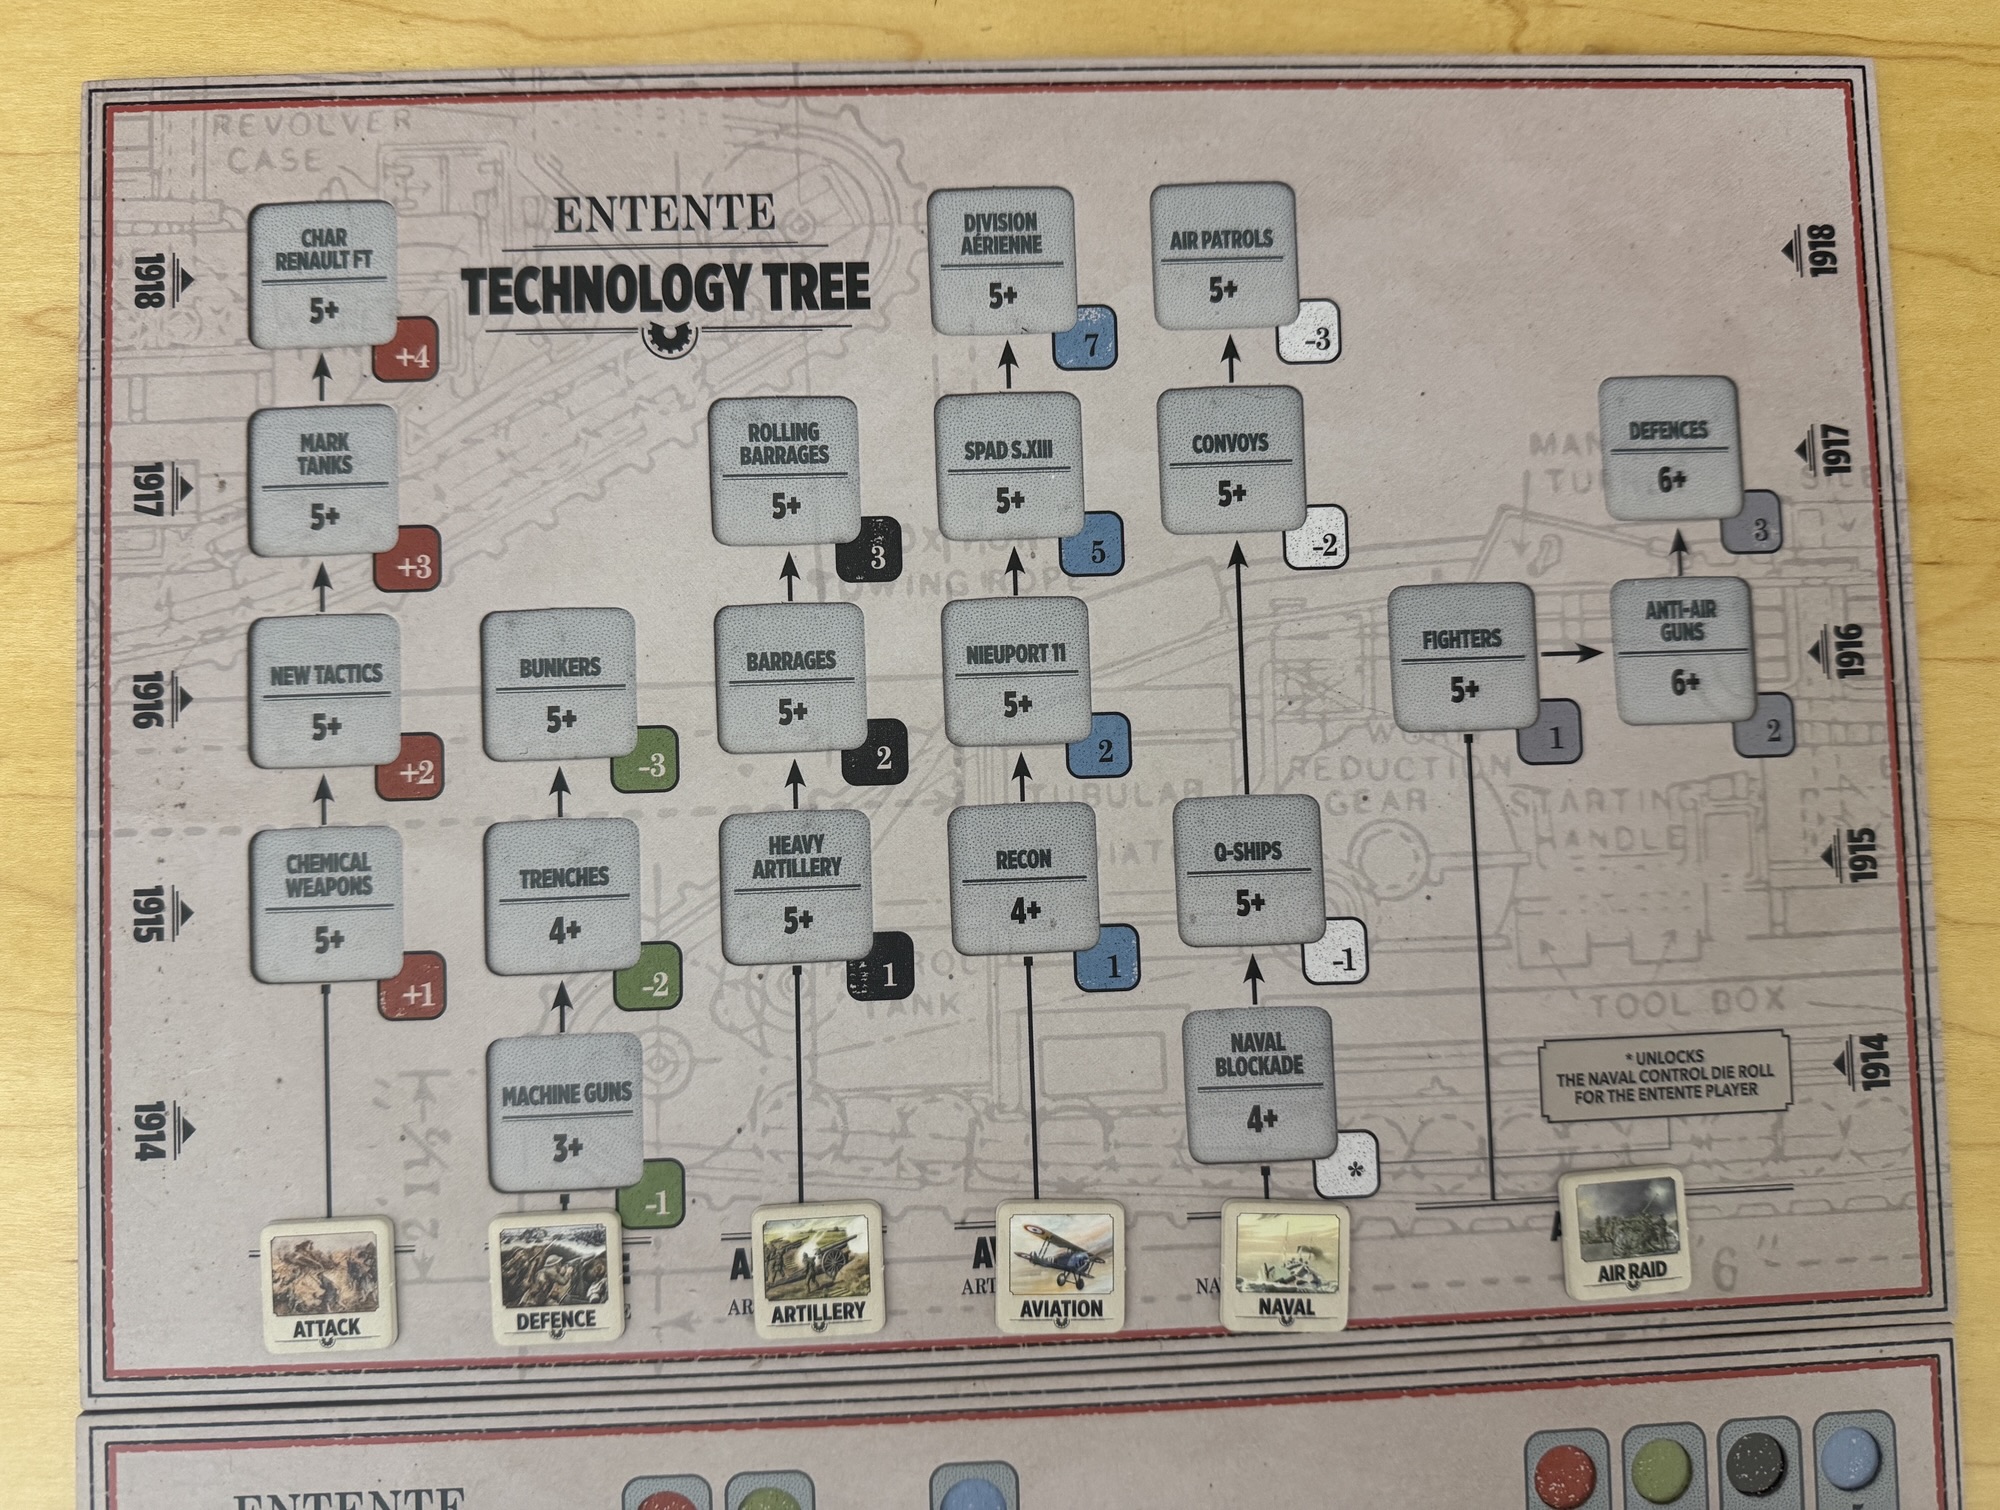
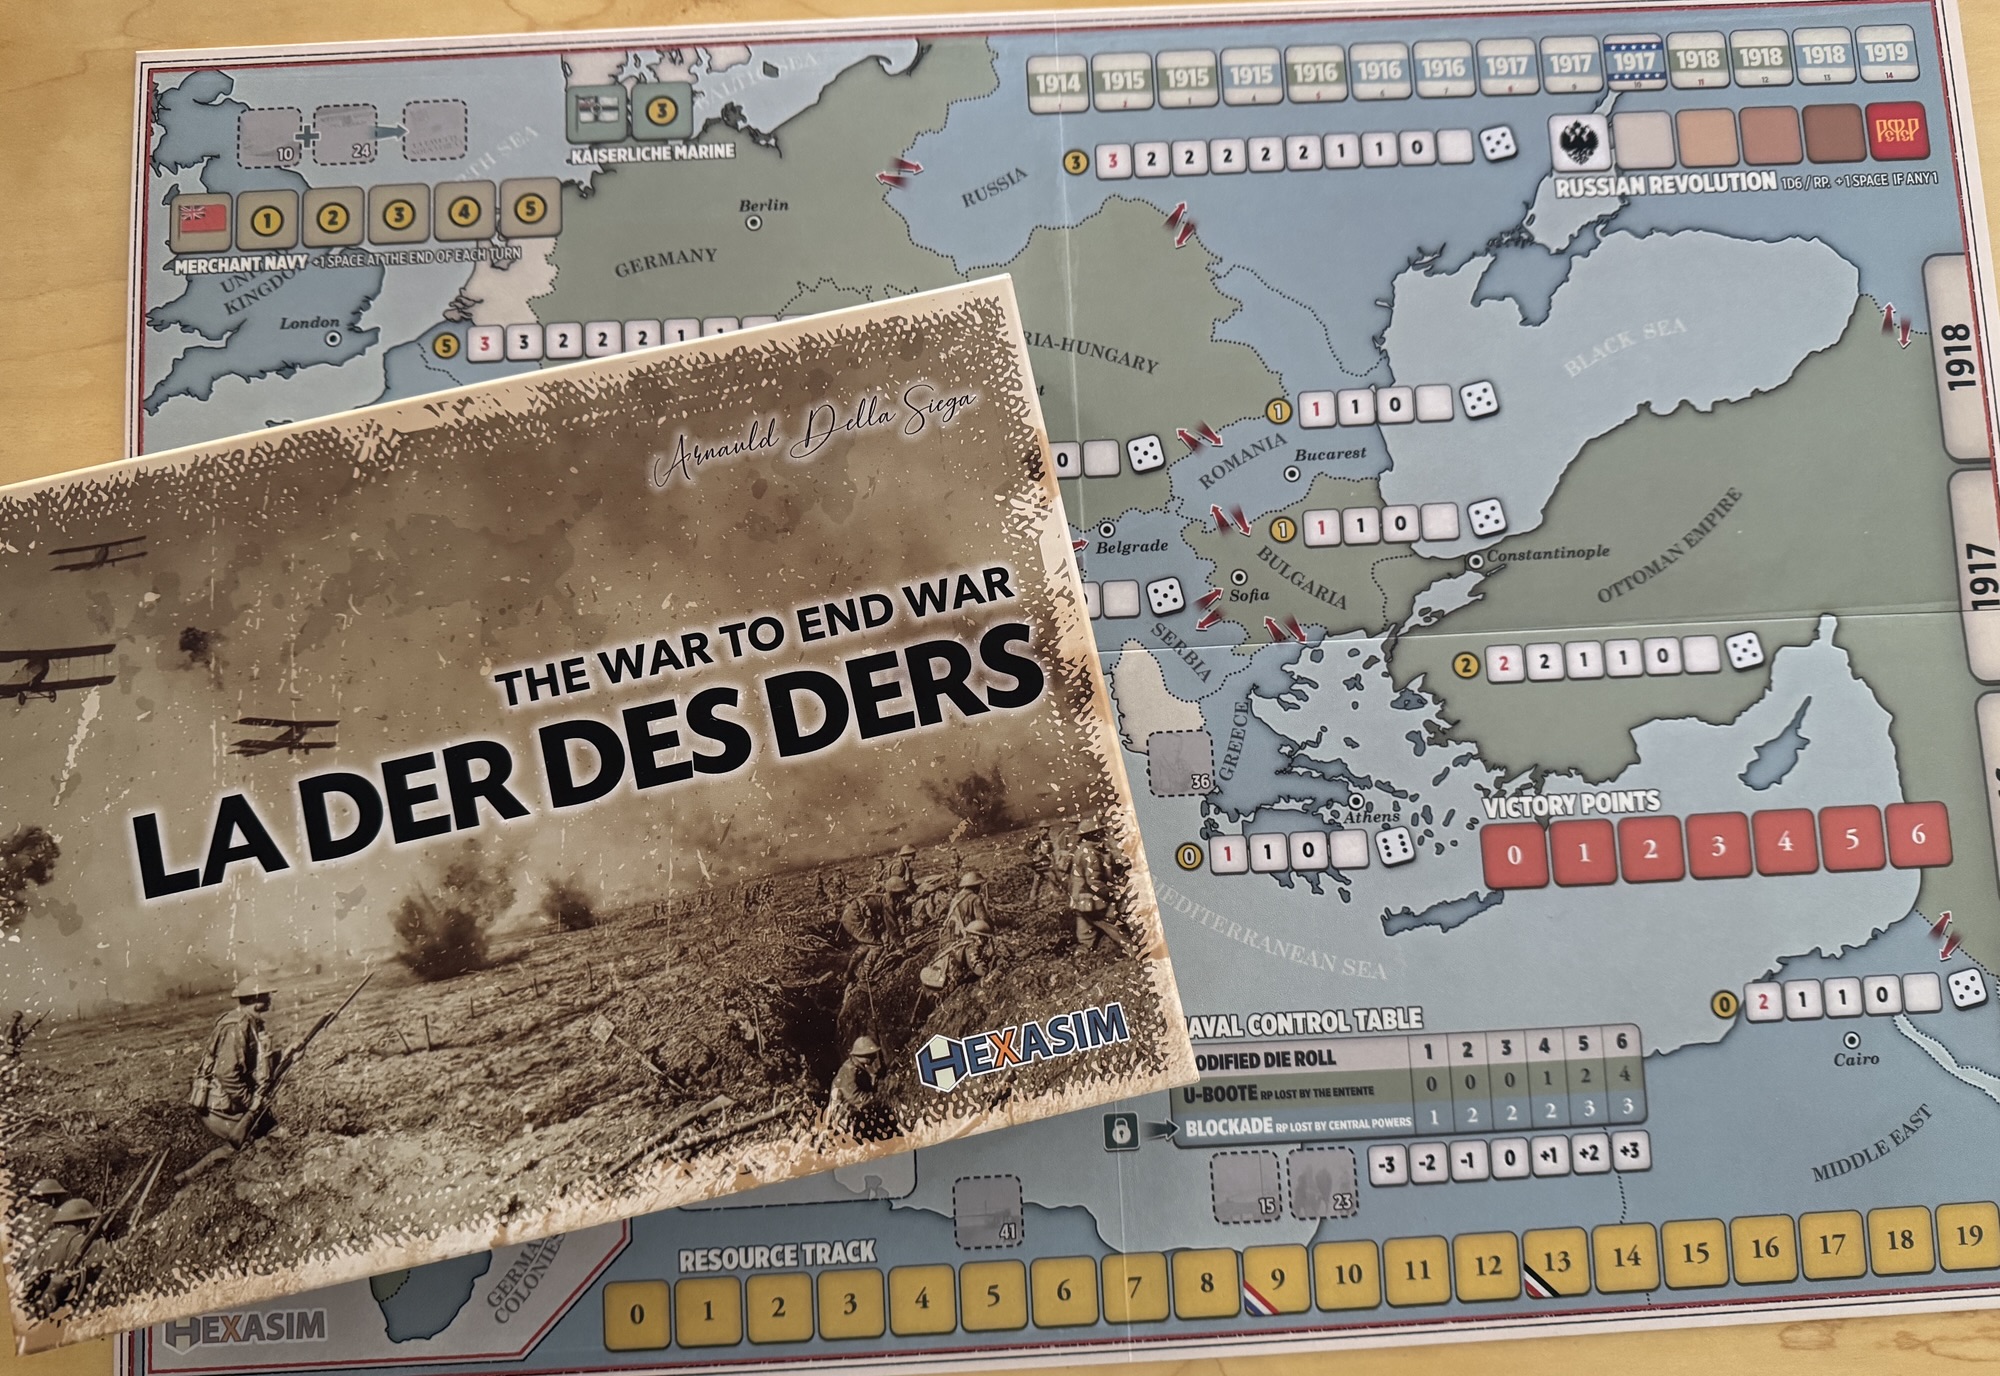
In Action Point 1, we looked at the Game Board, discussing the Collapse Tracks, Trade Tracks, Russian Revolution Track and Naval Control Table and other various on-board tables and offensive spaces. In Action Point 2, we covered the Technology Phase and the Technology Tree and Technological Improvement Boards. In Action Point 3, we examined the Event Cards and how they inject the historical narrative into the gameplay and also alter the conditions of the game. In this Action Point, we will walk through an example of an Offensive and take a look at the combat procedure.
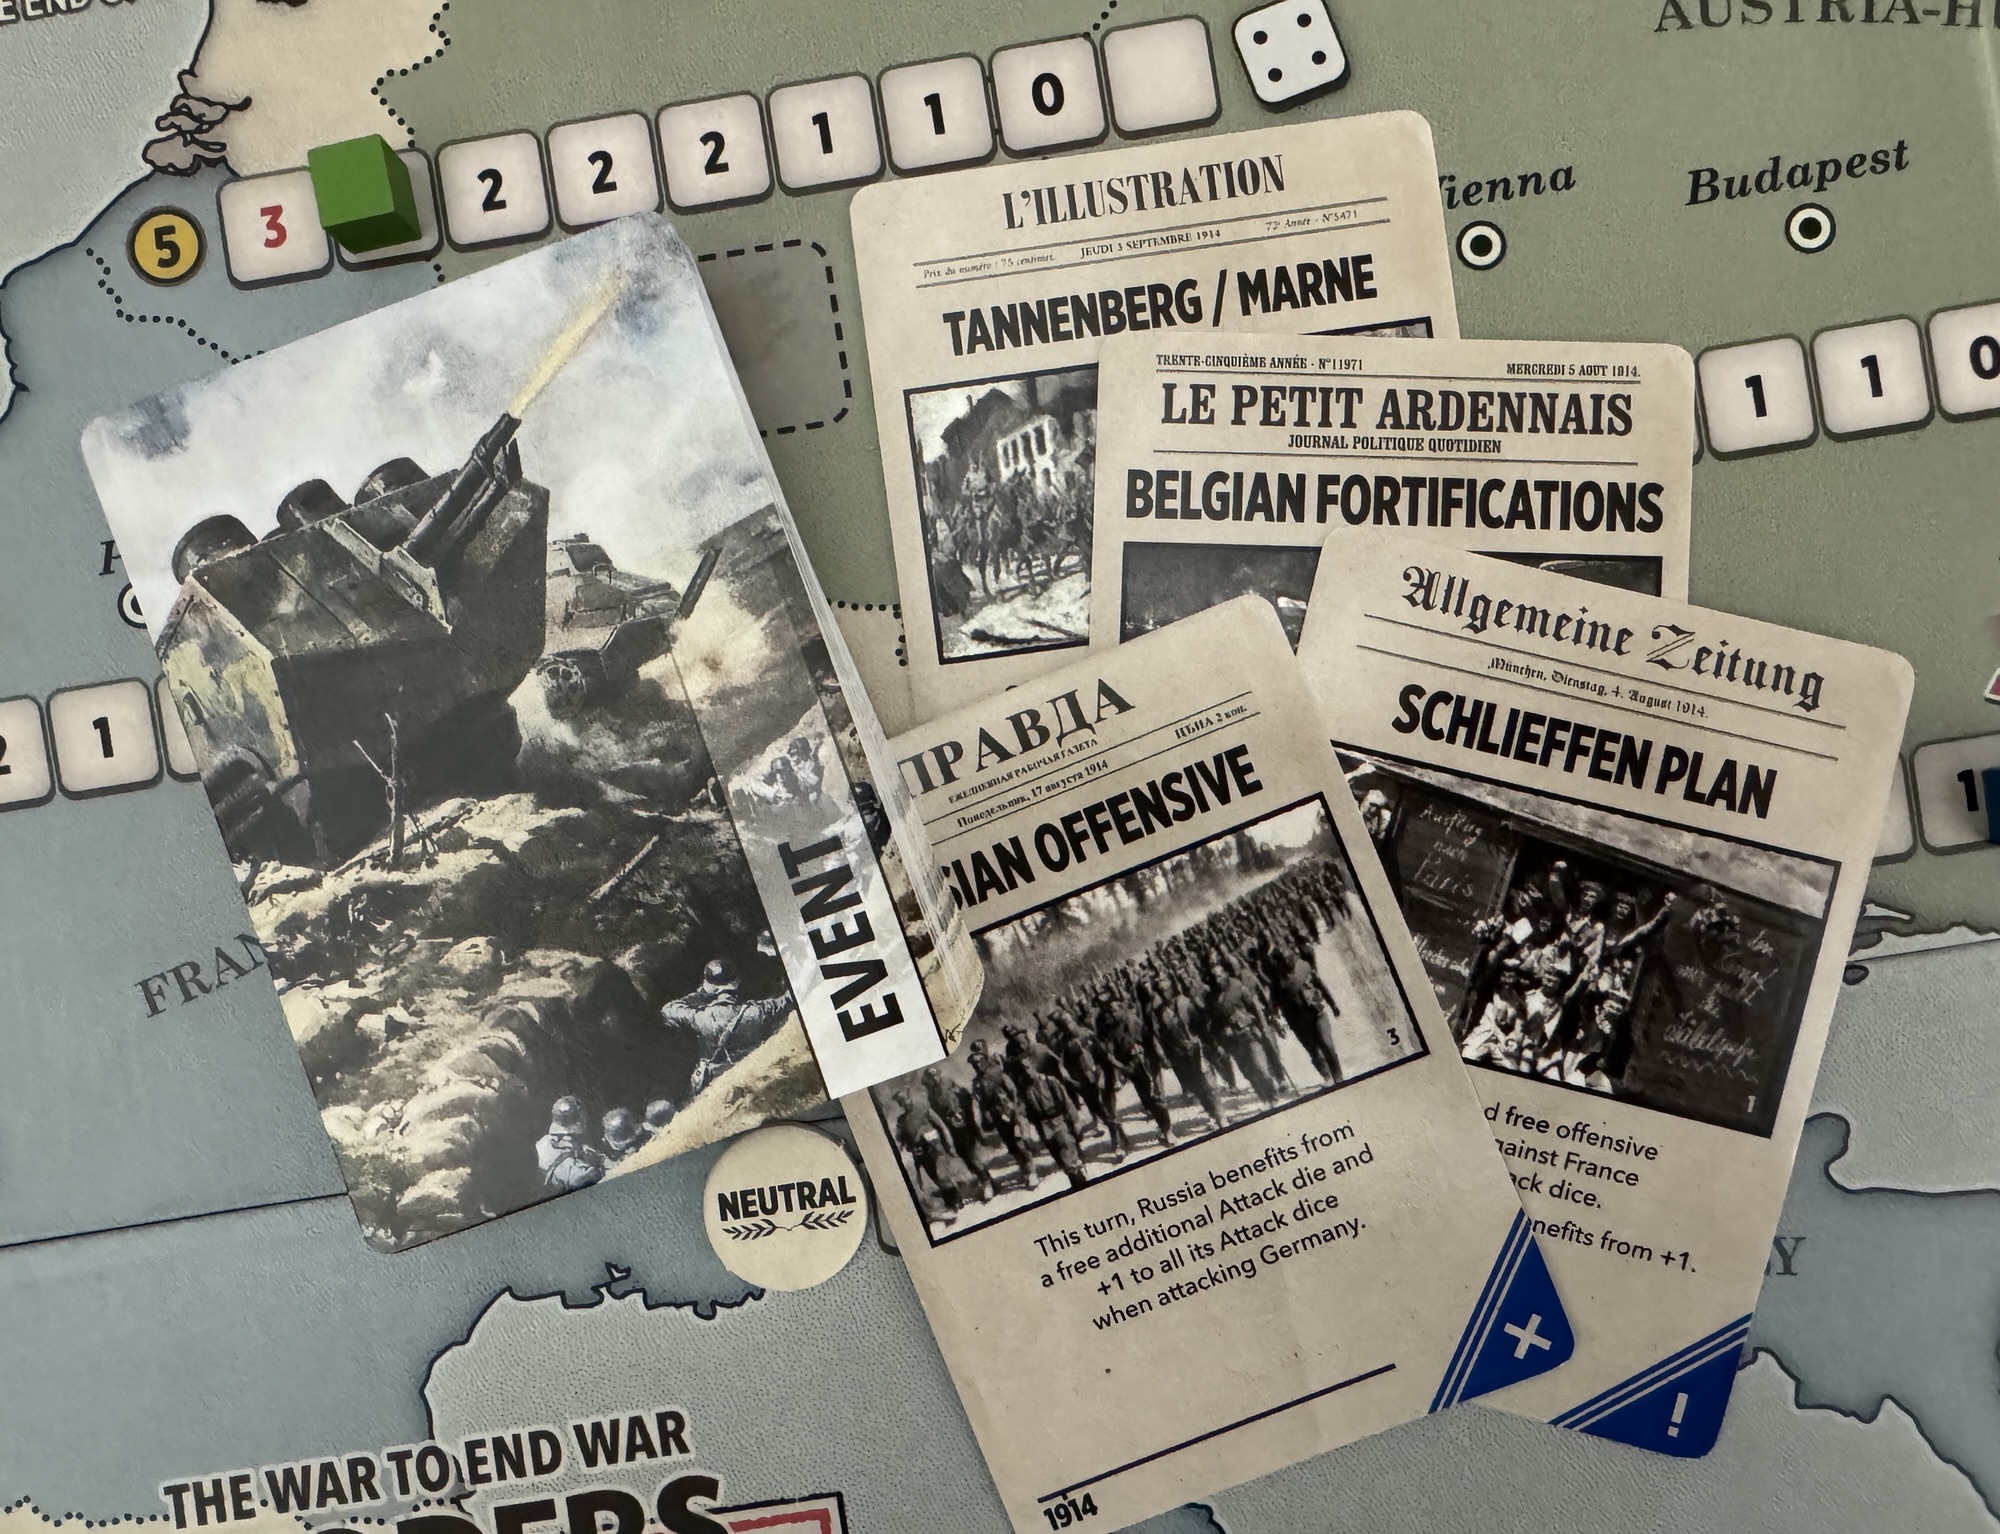
Offensives
As we discussed in Action Point 1, shown on the board are the Offensive Arrows that will remind the players about what Offensives they can undertake, meaning what Sectors may be attacked, and what Sectors have already taken their one Offensive against that adjacent Sector per turn. These are identified by red arrows connecting adjacent Sectors and will be covered up by the appropriate Offensive Marker when undertaken. In the below picture, we will take a look at Serbia as an example. You can see that Serbia is surrounded by Central Power countries including Austria-Hungary and Bulgaria (Neutral at the start of the war). They also have a few of their Allied nations adjacent including Romania (Neutral at the start of the war) and Greece (Neutral at the start of the war). From each of the adjacent Sectors there are 2 Offensive Arrows represented meaning that this Sector can both be attacked and can attack the adjacent Sector.
The process of taking Offensives is really pretty simple as players take turns to activate one of their sectors that has not yet been activated this turn. The sector chosen will then be activated and must launch an Offensive against an adjacent enemy sector. There is a cost to the launching of Offensives though as the player will have to pay the appropriate cost by first choosing the size of their Offensive, which in game turns means the number of dice they will pay to roll in the Offensive. The size of the Offensive must be at least 1 and can be up to the current Operational Value of the attacking sector. The player launching the offensive then spends as many Resource Points as the size of the Offensive.
For example, The Entente player decides to attack Austria-Hungary from Russia. If Russia’s Operational Value is currently 2, the size of the Offensive must be between 1 and 2. If the Entente player chooses a size 2 Offensive they will have to spend 2 Resource Points. This would allow Russia to roll 2D6 along with any black dice for their Artillery Technology.
Once both of the players have activated a sector, each player may then continue with Offensives by choosing to activate a new sector until no new sectors can be activated. Each of the sectors can make but a single Offensive per turn. I really like this restriction as it reflects the logistical and material difficulties in planning, funding and executing these large Offensives. A player may always decide to pass rather than activate a sector but once you do pass the Resource Spending phase ends for them. The other player can continue to activate the sectors they want and are able to until they decide to pass on their turn or are no longer able to activate a sector.
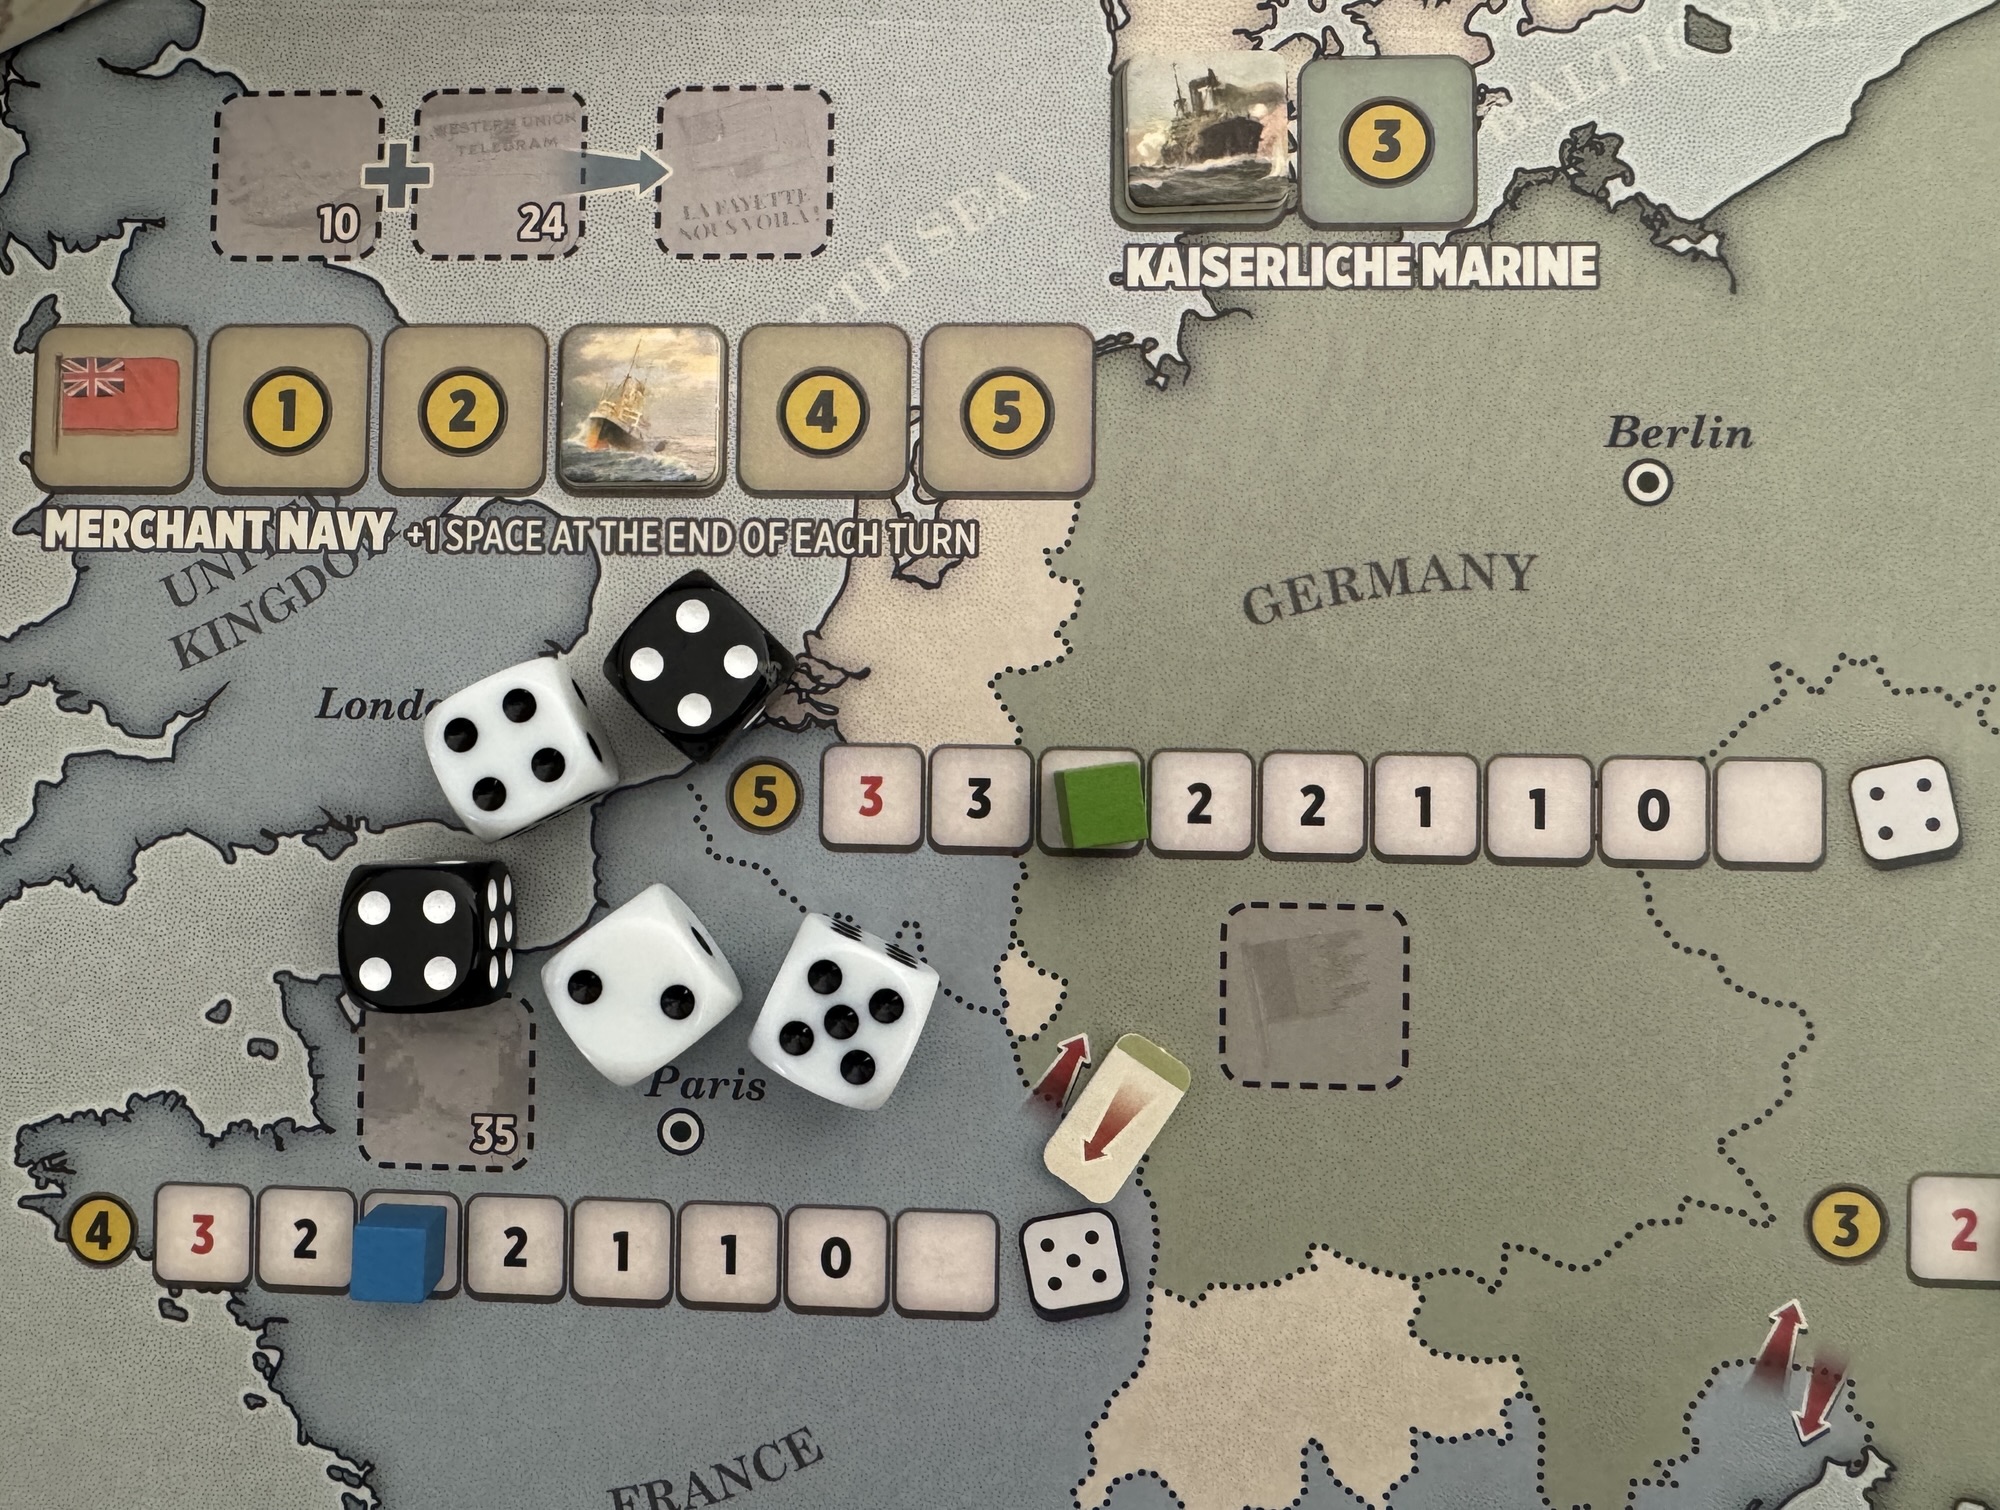
Now let’s cover the mechanics of how the Offensive resolves with dice. The player will roll as many white dice as the size of the Offensive they funded. These dice are called Attack Dice and it is important to remember that some technologies allow modifiers to be added to Attack Dice or will grant additional dice to be rolled, usually in the form of Artillery Dice. Each level of Attack Technology implemented in the attacking sector grants a DRM (Die Roll Modifier) of +1 to each Attack Die roll. Each level of Defense Technology implemented in the targeted sector inflicts a Die Roll Modifier of -1 to each Attack Die roll. Each level of Artillery Technology implemented in the attacking sector allows the Attacker to roll 1 black Artillery Die. These dice are not subject to the bonuses/penalties conferred by either Attack or Defense Technologies. Also, keep in mind that the number of Artillery dice cannot exceed the size of the Offensive. This is a mistake that I have made many times in my plays of the game and wish there was a better way to remember this. In the case of Artillery Dice, if the player has developed the Aviation Technology, the attacker may re-roll as many Artillery Dice that failed to inflict a loss as the difference between their Aviation Level and the defender’s Aviation Level.
Each result greater than or equal to the attacking player’s Attack Value inflicts one loss on the defender. The Attack Value of a sector is represented by the die depicted at the end of the Collapse Track. Germany has the best value at a 4 while all other countries, with the exception of Greece who is a 6, have a 5. For each loss suffered in an Offensive, the defender moves the cube on the attacked sector’s Collapse Track by one space to the right. If a cube needs to be moved forward on the Collapse Track, but is already on the right-most space and can’t be moved forward, that country immediately surrenders. The Offensives process is really very simple, and it just fits with the chosen format and scale of the game. Nice and easy but fun with lots of dice rolling.
Counter Attacks
One more thing that I need to share about these Offensives is the concept of a Counter Attack. If at least one of the Attack Dice rolled comes up a natural 1, the attacker will suffer one loss and the cube in their own sector is moved forward one space on the Collapse Track. This is not one loss per 1 result but only 1 such loss with an Offensive. With my luck, I could lose my whole army and have to surrender! Also, remember that Artillery Dice are not affected by the Counter Attack rule.
The process of Offensives in La Der des Ders is very simple and straightforward but works very well in the framework of the game to create many tough choices about how to spend your limited Resource Points and who to attack and from where. As the Central Powers, attacking with Germany each turn makes the most sense as they have the best odds of scoring hits and causing losses to France and Russia but they will have to gauge where they stand and who else might be closer to Collapse and surrender. As the Entente, France and Russia should put a heavy focus on Germany and Austria-Hungary and force the Central Powers player to have to replace losses rather than spending on Technology upgrades and replacements. Continually attacking them will lead to results over the course of the game.
In Action Point 5, we will simply review the Victory Conditions.
-Grant
![]()